





Bending Acrylic: Temperature, Heat Time & Radius
Most bent-acrylic failures are decided before the sheet ever touches the heater — in the radius the drawing asks for and the annealing step the quote skips.
Need this made?CNC acrylic machining →
Key Takeaways
- Line bending softens a narrow strip; thermoforming heats the whole panel. Sheet-maker guidance places cast and extruded PMMA in different forming windows, so the drawing must name the material grade.
- Use the sheet maker's forming data, bend radius, thickness, angle, jig, and approved sample together. The 2-3x-thickness radius in this guide is a planning rule, not a release tolerance.
- A bend can retain residual stress. The material datasheet and next process determine whether the approved route includes a controlled annealing cycle.
- The bend consumes flat length. A 90-degree bend in 5mm sheet shifts the leg dimensions by several millimeters, so the flat pattern is cut to a bend allowance, not to the finished leg sizes added together.
- Keep holes, slots, and printed graphics out of the bend zone — our layout rule is at least 3x the sheet thickness away from the bend line — or the feature stretches visibly when the acrylic softens.
On this page
- How to bend acrylic, and at what temperature
- Line bending: radius limits by thickness
- Cast vs extruded sheet under heat
- Thermoforming: when the whole sheet gets hot
- Optical distortion at the bend, and how it’s controlled
- Annealing after the bend: the step quotes love to skip
- Designing for the bend: flat patterns, allowances, sequence
- From drawing to bent parts
How to bend acrylic, and at what temperature
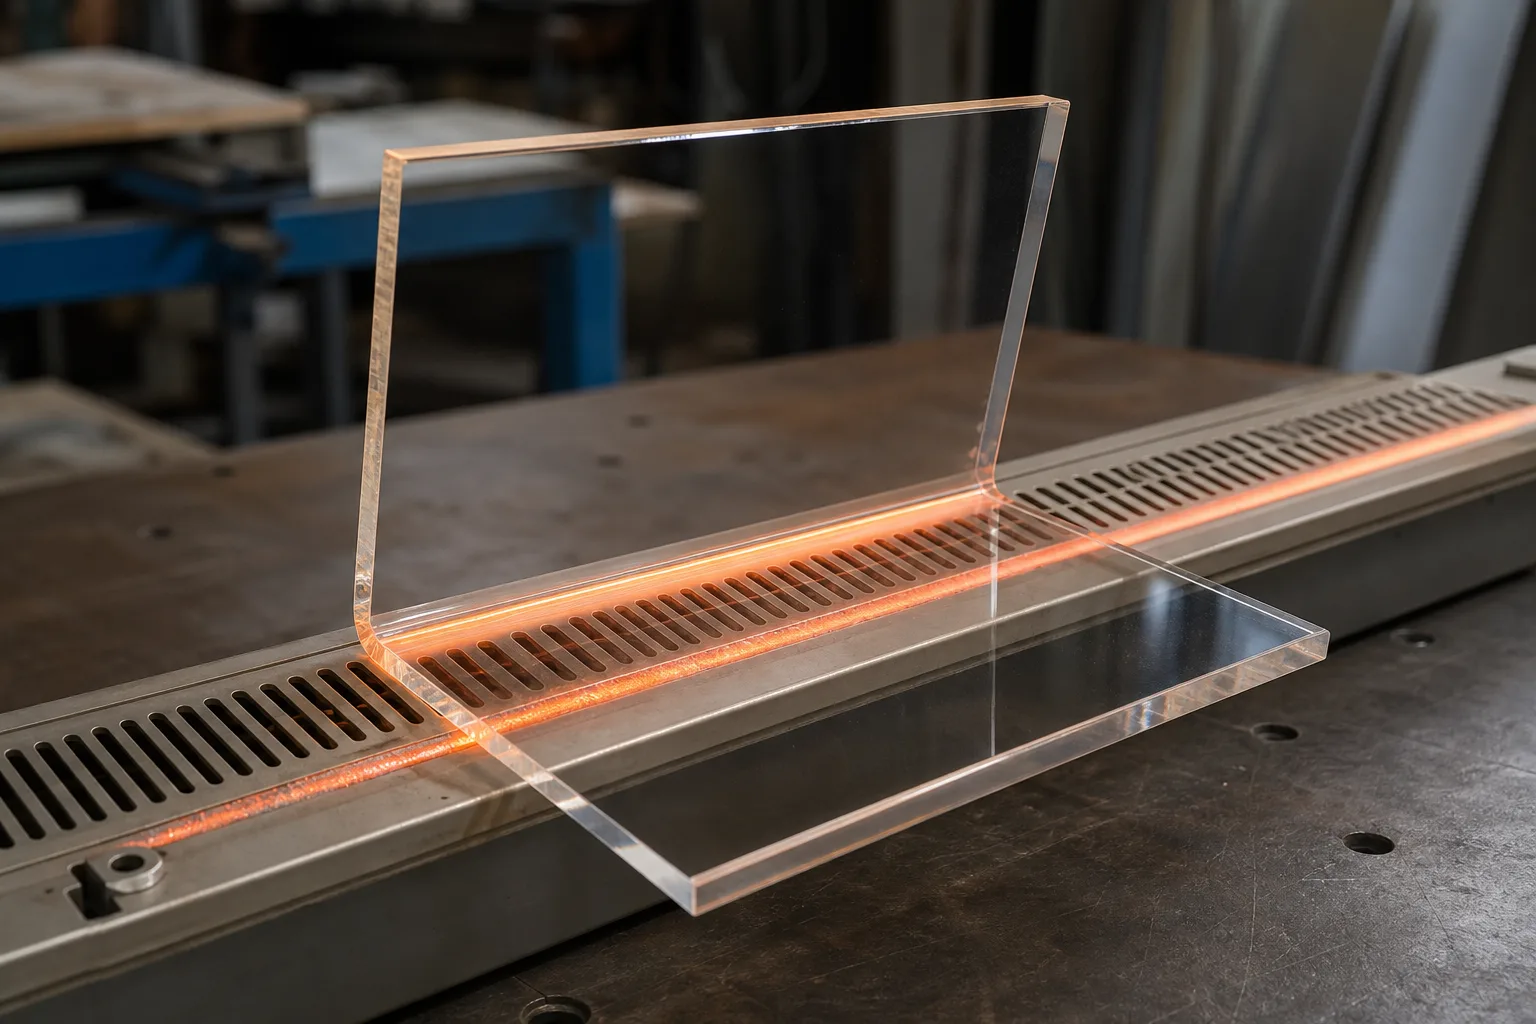
Bending acrylic means heating a narrow strip along the bend line until it is soft through its thickness, folding it against an angle jig at an inside radius of about 2-3 times the sheet thickness, and holding it until it cools. Published guidance puts the forming temperature at about 145-160 C for extruded sheet and 171-193 C for cast sheet.1 Bending sits between cutting and assembly in the acrylic fabrication sequence.
Those figures are planning inputs; the named sheet maker’s datasheet, the heater and an approved sample set the production cycle. Lucite and plexiglass are trade names for the same PMMA (see the plexiglass vs acrylic terminology guide), so the same rules apply whatever the sheet is called. Acrylic is a thermoplastic: heat softens it and cooling holds the formed shape, so one blank can become an L-shaped sign holder, a J-shaped shelf talker or a U-shaped riser without a glued joint at the fold.
Holes, slots and pockets in a bent part are machined on the flat blank before forming; our acrylic CNC machining page covers those features and the drawing inputs they need. The CNC vs laser cutting guide explains how the flat blank is cut, and the laser edge-quality guide covers the cut edge before forming. Record the drawing revision, measurement method and allowed surface condition before the first article goes to sample approval.
Line bending: radius limits by thickness
Line bending softens one narrow strip of the sheet over a heated element, then folds the sheet against an angle jig and holds it while it cools. Sign holders, brochure pockets, easels, shelf talkers and risers are all line-bent parts, and the one spec that cannot be left open is the inside bend radius.
Use 2-3x the sheet thickness as an initial inside-radius planning rule, then verify the radius against the named sheet guidance and approved sample. At the fold, the outer face stretches and the inner face compresses; a tighter radius concentrates more strain in the bend zone. Cold-forming guidance can require a much larger radius, with one published reference using roughly 330x thickness.1
| Sheet thickness | Min. inside radius (our shop rule) | Typical heat soak, per side | Common bent products |
|---|---|---|---|
| 2mm | 4-6mm | 45-90 seconds | Shelf talkers, tent cards |
| 3mm | 6-9mm | 1.5-3 minutes | Sign holders, brochure pockets |
| 5mm | 10-15mm | 3-5 minutes | Risers, counter displays |
| 8mm | 16-24mm | 6-10 minutes | Heavy-duty stands, furniture-grade parts |
Two practical notes before you spec from that table. First, soak times scale with thickness because the heat must reach the core of the strip — a 5mm sheet folded the moment its surface feels soft will whiten along the fold, because the core was still rigid and got torn rather than formed. If you’re comparing supplier quotes, ask each one what their per-side soak time is on your thickness; the answer tells you who actually bends thick stock and who improvises. Second, sheets 5mm and up get heated from both sides on our benches; single-side heating on thick stock is the classic cause of a bend that looks fine on the outside and carries micro-fissures on the inside face.
Cast vs extruded sheet under heat
Cast and extruded acrylic have different processing histories. One published forming reference gives about 340-380 F (171-193 C) for cast sheet and 290-320 F (145-160 C) for extruded sheet.1 Confirm the named sheet maker’s current datasheet before setting production temperature, because grade and thickness affect the forming route.
Choose the material from the optical target, geometry, finishing steps, service load, and supplier data. Cast and extruded grades can respond differently to heating, machining, polishing, and bonding. The cast vs extruded acrylic guide covers those tradeoffs.
State one approved material grade for each production line item and record it at incoming inspection. Mixing unverified sheet grades under one set of forming parameters can change springback and surface condition.
Thermoforming: when the whole sheet gets hot
Thermoforming heats the entire sheet to its forming window and shapes it over or into a form — by gravity and hand pressure (drape forming) or by vacuum pulling the rubbery sheet tight against a mold (vacuum forming). Line bending makes folds; thermoforming makes curves, domes, trays, and compound shapes no strip heater can reach.
Geometry determines the forming route and setup. A straight fold can use line bending and an angle jig. A continuous sweep or domed cover may use drape forming, while a deep or compound shape may require a dedicated vacuum-form tool. Ask the quote to separate any jig, form, or mold charge and identify who owns the tool. The guide to what adds days to an acrylic production run helps place that setup before sample approval and production scheduling.
Two specs matter more in thermoforming than buyers expect. First, thinning: a deep draw stretches the sheet, so a 3mm sheet vacuum-formed into a deep tray is no longer 3mm at the corners — depth-to-width ratio has to respect that. Second, optics: full-sheet heating relaxes the sheet’s surface, and contact with the softened show face can transfer texture. Specify the form surface, release layer, optical acceptance condition, and sample evidence for the named grade and geometry.
Optical distortion at the bend, and how it’s controlled
A bend can distort the view through its fold because the inner and outer faces no longer follow parallel planes. Review radius, heat distribution, and artwork layout on the sample when the bend sits in a viewing zone.
Start artwork and cut-feature clearance at 3x sheet thickness from the bend line, then approve the final distance on the sample. Printing after forming may suit artwork that must register to the finished geometry.
Protective-film adhesive can mark a heated strip if the film is not rated for the forming process. Define film removal and surface protection in the work instruction, then inspect the bend zone under the agreed lighting. The protective film guide covers the remaining build and shipping stages.
Annealing after the bend: the step quotes love to skip
Annealing uses a controlled heating and cooling cycle to reduce residual stress. The named sheet maker’s guidance sets the cycle; temperature and duration depend on grade, thickness, geometry, support and the next process.
Acrylic’s glass transition sits around 110 C — the temperature region where the polymer softens.2 A formed part cooled quickly from forming temperature freezes stretched polymer chains in place; those chains pull permanently at the fold. The stress alone rarely breaks anything. But add a trigger — solvent cement during assembly, an alcohol- or ammonia-based cleaner in service, sustained load, outdoor thermal cycling — and stressed acrylic crazes exactly where the stress concentrates. Annealing below the glass transition, at the cycle the sheet maker publishes for the grade, lets the chains relax without the part losing shape; Röhm’s PLEXIGLAS workshop guidelines give 70 to 80 C for relieving stress from sawing, milling, polishing and thermoforming.3 It is the same discipline, for the same reason, that our box joinery guide demands before any solvent touches a machined edge.
Ask for an annealing review when the bent part will be bonded, printed near the fold, exposed to cleaners, used outdoors, or formed at a tight radius. The approved process should state whether annealing is included and which sheet guidance supports the cycle.
Designing for the bend: flat patterns, allowances, sequence
Bending changes the flat length needed to reach the finished legs. Calculate the blank from thickness, radius, angle, and the approved bend method. State finished outside dimensions and fit-critical features on the drawing, then verify the flat pattern on the sample.
The drawing should state the angle, fit-critical tolerance, inside radius, feature clearance, and service environment. Our working tolerance standard covers flat features; bent angles and legs are agreed on the drawing and confirmed on the sample. Ask the fabricator to review grain direction on extruded material and whether the next process requires annealing.
Sequence, for a typical bent retail part on our floor: cut the flat blank (laser or CNC), machine any holes and slots, flame- or diamond-polish exposed edges to our edge finish standard, bend against the angle jig, anneal if the part’s service or next process demands it, then print and assemble. Edges are polished before bending because a polished edge through a fold stays continuous, while polishing into an inside corner after bending is slow, manual work.
From drawing to bent parts
To quote a bent or thermoformed acrylic part we need five things: a drawing or clear reference photo with finished dimensions, the bend angles, sheet thickness and material (cast or extruded — cast if unsure), quantity, and the part’s service environment so we can make the annealing call for you. Send the drawing through our custom acrylic fabrication page and we respond within 24 hours; if the geometry is better vacuum-formed than bent, the quote says so and prices the form tool as its own visible line. If the finished part stays under heat in service, add the inputs in the plexiglass temperature rating guide rather than treating the forming temperature as a service limit.
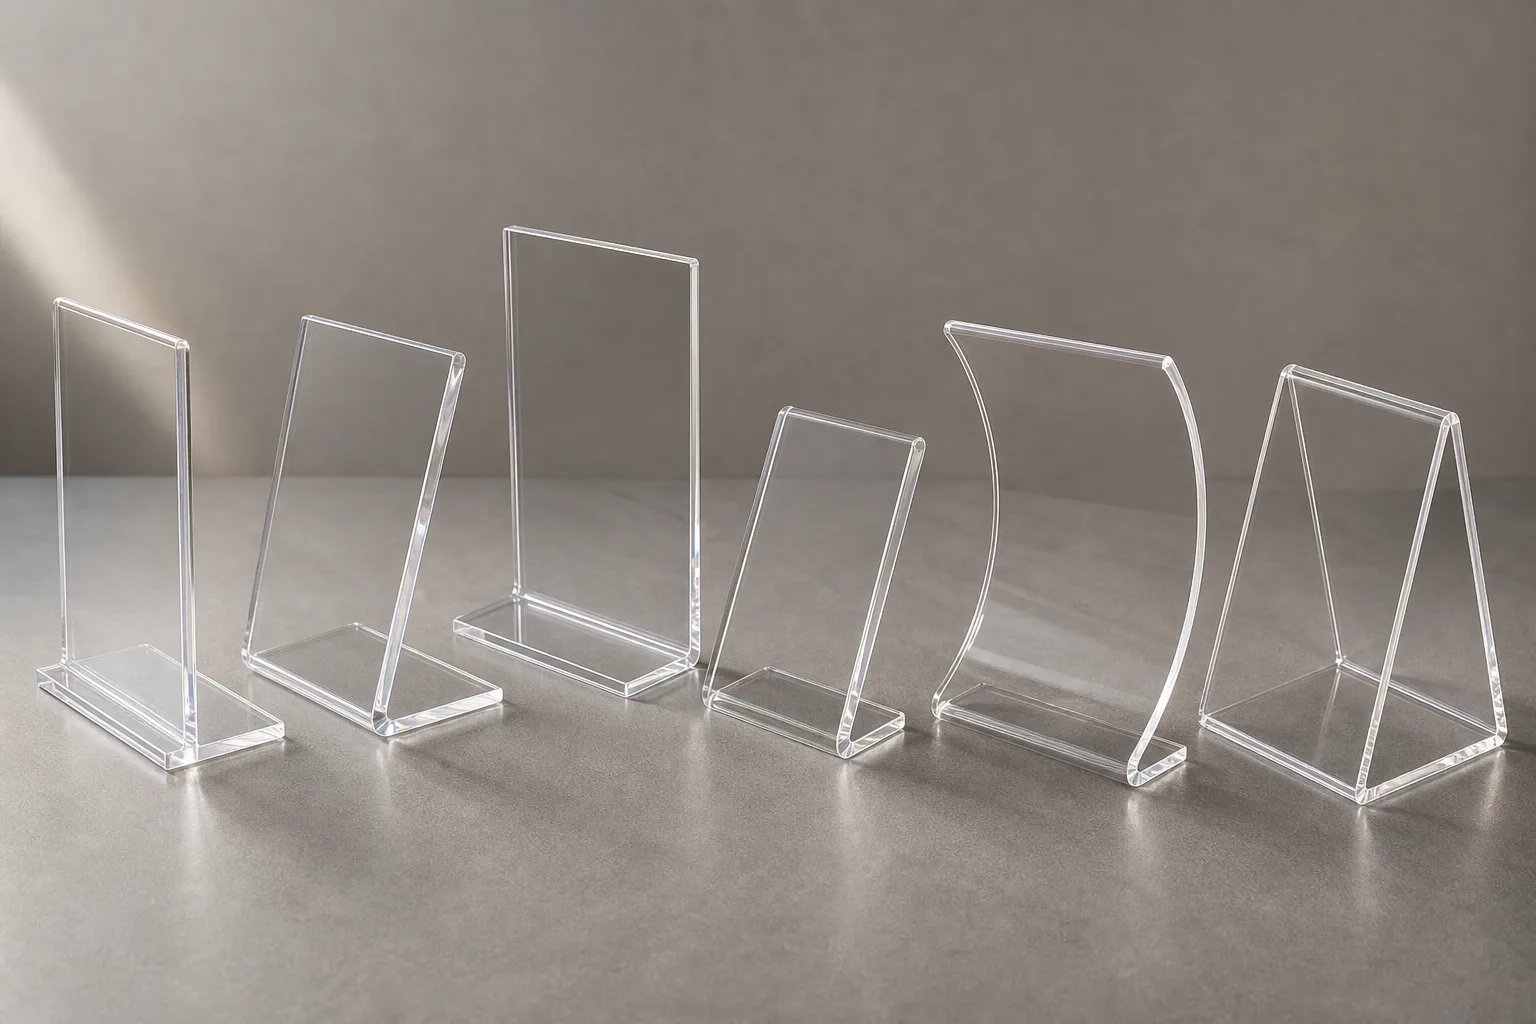
The quote should identify the first-article approval, production inspection plan, payment terms, and release evidence. MOQ is 100 pieces per design. Samples take 3-5 days after specification confirmation, are paid separately, and are never credited to production; production takes 15-20 days after approval. See bent formats across our acrylic sign holders and brochure holders, or use the custom acrylic menu holders page for table-tent and multi-format planning.
The 1,000-unit shelf-edge sign-holder rollout shows how repeatable bends are controlled across a multi-SKU production run.
Footnotes
-
Forming cast & extruded acrylic sheet — U.S. Plastic Corp. — publishes the forming temperature ranges cited here (cast 340-380 F / 171-193 C; extruded 290-320 F / 145-160 C) and the cold-forming minimum radius guideline of roughly 330x sheet thickness. ↩ ↩2 ↩3
-
Polymethylmethacrylate (PMMA / Acrylic) material properties — MakeItFrom — documents PMMA’s glass transition temperature of about 110 C, the ceiling below which an annealing cycle must stay so the part keeps its formed shape. ↩
-
Guidelines for workshop practice: joining PLEXIGLAS — Röhm (PDF) — the sheet maker’s guideline that annealing at 70 to 80 C may be required to relieve stress generated during sawing, milling, polishing and thermoforming. ↩
Published price point
Turn the bend drawing into a production quote
From $6 per unit at 500 pcs, FOB Shenzhen
Published comparator for a 150 × 100 × 100 mm case in 3 mm clear acrylic with a magnetic lid. It is not a bending fee or a bent-part quote; bend count, radius, jig or form, material, annealing, packing, and quantity change the final number.
Paid samples are quoted separately and are never credited to production.
Thank you!
We've received your inquiry. Our team will reply within 24 hours — usually faster.
Frequently Asked Questions
Can acrylic be bent at non-standard angles?
Yes. The quote identifies the drawing angle, inside radius, material, jig or form, measurement method, and sample approval. Angle tolerance and setup cost depend on the geometry and approved process. Production MOQ is 100 pieces per design; samples are quoted separately and take 3-5 days after the specification is confirmed.
What is the minimum bend radius for acrylic sheet?
For heat line bending, plan on an inside radius of at least 2-3 times the sheet thickness for a clean, optically stable fold — about 10-15mm inside radius on 5mm sheet. Tighter radii are physically possible but concentrate stress at the fold and show more optical distortion. Cold bending is a different regime entirely: sheet suppliers put the minimum cold-form radius at roughly 330 times thickness.
Does bending weaken acrylic?
A bend changes stress and thickness around the fold. The material grade, forming temperature, radius, cooling route, load, cleaner exposure, and approved sample determine whether the part is suitable. Specify any bonding, cleaning, outdoor, or load-bearing condition before the forming route is released.
Should I specify cast or extruded acrylic for bent parts?
Choose cast or extruded acrylic only after reviewing the named sheet supplier's forming guidance and the finished-part brief. Cast sheet can suit optical or polished faces; extruded sheet can suit simpler bends. Grade, thickness, load, finish, heater, tooling, and the approved sample determine the route, and the same settings must not be assumed across materials.
What temperature does acrylic bend at?
Published sheet-supplier guidance lists about 145-160 C for some extruded grades and 171-193 C for some cast grades, but the named datasheet controls. Heating outside the specified window can cause springback or surface damage. Thickness, heater, exposure, tooling, and the approved sample determine the actual cycle.
How long should I heat 5mm acrylic sheet before bending?
On a typical strip heater, plan on about 3-5 minutes per side for 5mm sheet, heating both sides, until the strip is soft through its core rather than just on the surface. Treat that as a starting point to test on an offcut: heater power, gap to the element and the sheet grade change the time. Folding too early whitens or cracks the inside of the bend.
Quote the bend from the finished geometry
Send the drawing, material, thickness, angles, radii, quantity, and use environment. Paid samples are quoted separately and never credited to production.