





Acrylic Box Seams: How to Judge Joint Quality
Clarity and thickness are easy to spec. The seam is where an acrylic box quietly tells you who built it — and what to reject before 500 pieces ship.
Need this made?Custom acrylic boxes →
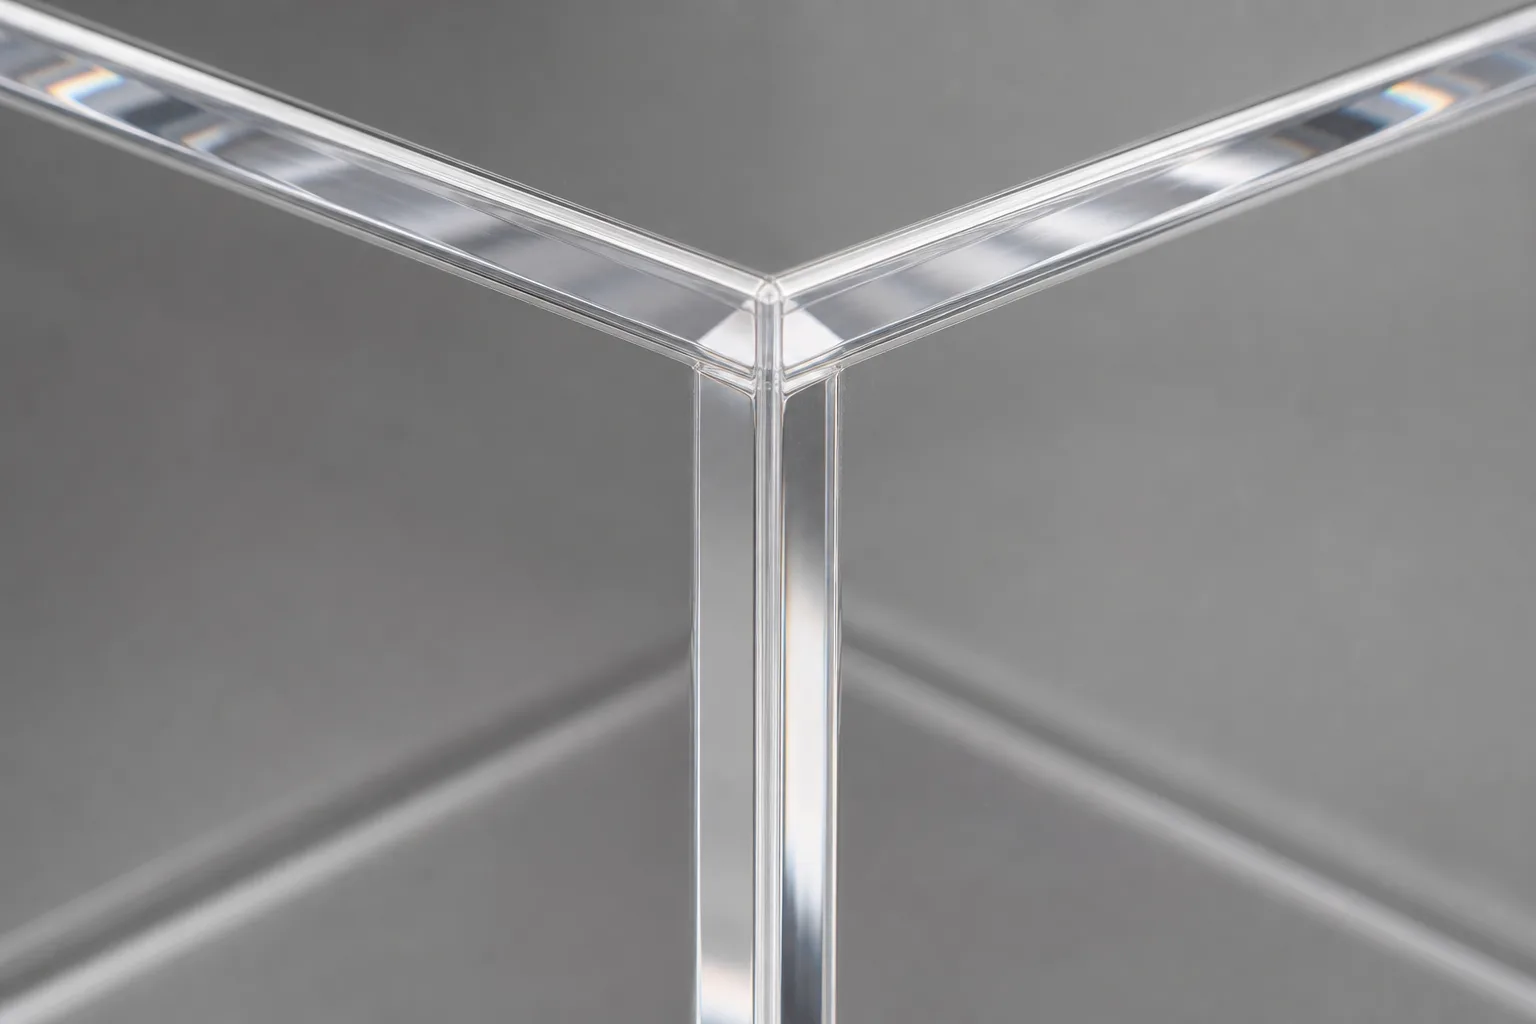
Key Takeaways
- A good acrylic box seam is not invisible — it is controlled: a uniform, fully wetted bond line with no bubble clusters, white haze, or squeeze-out under the agreed inspection lighting and viewing distance.
- Solvent bonding softens and fuses close-fitting acrylic faces; UV bonding cures an adhesive layer between them. The named product's data sheet and the approved joint design must control gap, working time, and cure.
- The four seam defects to inspect for are bubble clusters, white haze (blushing or crazing), glue squeeze-out, and edge misalignment — each has a specific production cause and a specific fix.
- A 45-degree miter hides the edge line and creates a longer diagonal bond plane than a butt joint, but its machining cost must be quoted for the actual drawing and quantity.
- Machining, polishing, forming, and bonding can leave or expose residual stress. Put the material supplier's and adhesive supplier's stress-relief instructions on the approved process sheet rather than assuming one universal annealing cycle.
On this page
Acrylic box seams: the fastest quality read
100 pieces per design is the MOQ; a separately paid sample takes 3–5 days, production takes 15–20 days, and 3–5 mm clear acrylic with ±0.2 mm as the standard working tolerance for named critical dimensions remains subject to the approved drawing.
| Exact reference point | Commercial basis | Source and limit |
|---|---|---|
| 150 × 100 × 100 mm, 3 mm clear acrylic, magnetic lid, 500 pieces | From $6/unit FOB Shenzhen | Acrylic cases hub — published low-end reference for this exact spec, not a seam premium or a project quote |
Acrylic box seams reveal a fabricator’s process control faster than any spec sheet. Clarity comes from the sheet supplier and thickness from the order form — but a clean, uniform bond line depends on controlled surface preparation, joint fit, bonding chemistry, and the approved process. Judge the seams against the approved sample first; everything else follows.
A slotted event box adds access and security decisions to that joint review; the wedding card-box slot, lid, and security guide organizes those inputs before the drawing is released.
Most buyers evaluate an acrylic box backwards. They check the material certificate, measure the walls, hold the panel up to light — and only glance at the corners. Yet the panel qualities were bought, not made: any fabricator ordering the same cast sheet gets the same clarity. The seams are the part your fabricator actually produced. They are also hardest to hide on transparent material, which is why the corners on our clear acrylic boxes get the strictest read at final inspection — nothing on a clear box is behind anything else.
The goal of a quality seam is not invisibility. Even a well-made solvent weld can show a faint line where two refractive surfaces meet. The useful acceptance standard is a controlled seam: uniform appearance, no unapproved bubble clusters under the agreed inspection condition, no white bloom, and no cement smeared past the joint.
This guide covers the two bonding chemistries, the four defects and their causes, when a 45-degree miter earns its cost, what actually determines corner strength, and the checkpoint list my inspection team runs before anything ships. If your question is how thick the walls should be for the load, that is a different engineering problem — see our acrylic box wall thickness guide. This one is about the joints holding those walls together.
Solvent bonding vs UV bonding: two different seams
Solvent bonding and UV bonding produce structurally different acrylic box seams. Solvent cement softens both mating faces so the acrylic fuses into a single piece as the solvent evaporates. UV bonding cures a liquid adhesive layer between the faces under ultraviolet light. One is a weld; the other is a glue line — and each suits different builds.
Solvent bonding is common for clear acrylic boxes. A water-thin cement is wicked into a close-fitting joint by capillary action so the acrylic faces soften and fuse as the solvent leaves.1 Because the cement is thin, the method demands machined, square, close-fitting edges: it is not a substitute for joint fit. Working, handling, and final-cure times must follow the named cement’s technical data sheet and the validated shop process.
UV bonding uses a light-cured acrylic adhesive that remains positionable until exposure. That changes the trade-offs: the selected product may accommodate more joint variation than a capillary solvent and can suit bevel-edged lids or joints where capillary wet-out is difficult. Confirm allowable gap, exposure, handling time, and final cure from the adhesive supplier’s data sheet.
| Factor | Solvent bonding | UV bonding |
|---|---|---|
| Joint type | Fused weld — parent material | Cured adhesive layer |
| Gap tolerance | Needs a close-fitting, machined joint | Product- and joint-specific; verify the data sheet |
| Working time | Cement- and process-specific | Positionable until the specified exposure step |
| Cure | Use the named cement’s validated schedule | Use the named adhesive’s exposure and cure schedule |
| Typical look | Faint uniform line | Water-clear, slightly wider line |
| Best for | Standard clear boxes, tight CNC-cut joints | Thick premium cases, bevels, gap-prone joints |
| Cost | Lower — material and labor | Higher — adhesive, lamps, fixturing |
Neither method is “better.” When a buyer sends a competitor’s failed box, the question that matters is not which chemistry was used — it is whether the chemistry matched the joint fit. Solvent cement on a gappy joint gives dry, starved seams; slow-cure adhesive on a production run that needed speed gives rushed, half-cured ones.
The four seam defects and what causes each
Four visible conditions belong on an acrylic-box seam checklist: bubble clusters, white haze, glue squeeze-out, and edge misalignment. Each can have more than one process cause, so the inspection record should identify the condition without guessing at a single root cause.
Bubble clusters. Isolated marks and bubble chains are not the same acceptance condition. Chains, clusters, and dry patches can form when application, joint closure, or edge preparation prevents full wet-out. They catch light and identify an inconsistent bond line. Define the lighting and viewing distance on the approved sample instead of imposing an uncited universal threshold.
White haze. Two distinct mechanisms can sit behind one symptom. Blushing can occur when evaporation cools the joint and moisture affects the bond line. Crazing is a web of fine stress cracks associated with residual stress and chemical exposure. Both require process review; crazing merits rejection rather than a cosmetic rework assumption.
Squeeze-out. Cement or adhesive smeared beyond the joint, fingerprints in soft cement, or drip tracks down a face are workmanship conditions to reject against the approved sample. Masking, fixturing, and controlled application are possible controls, not guarantees.
Misalignment. A wall proud of its neighbor or a lid frame out of square must be judged against the approved drawing and sample. Fixturing is one control for alignment, but its capability still has to be verified on the finished part.
The crazing cause deserves one more sentence, because it can emerge after production. Cutting, drilling, polishing, forming, material grade, and bonding chemistry all affect residual stress. Ask the fabricator to document the applicable stress-relief step against the sheet and adhesive suppliers’ instructions; do not prescribe one temperature and duration across every box.
45-degree miters: when they are worth it
A 45-degree miter hides the edge line that a butt joint shows through clear acrylic, and its diagonal bond plane is geometrically longer for the same wall thickness. The cost comes from precision machining and inspection, so compare it with a butt-joint option on the same approved drawing and quantity rather than applying a fixed premium.
In a butt joint, the edge of one panel bonds to the face of the other — simple, strong enough for most work, but through transparent material you see that panel edge as a stripe at every corner. A miter rotates the bond plane 45 degrees so the two panels meet along a diagonal: the outside corner becomes one crisp line, and the stripe disappears. That is the corner buyers most often pay for on our acrylic gift boxes, where the box is handled at close range and the corner is the first thing a recipient’s eye lands on. Geometry also works in the joint’s favor — the bond plane across a mitered wall is the wall thickness times 1.414, about 41% more bonded area than the same wall butted.
So when is the premium justified? My working rule from a decade of inspecting both: miter the corners the customer looks at, butt the ones they do not. Retail counter displays, collectible cases, five-sided display lids, cosmetics boxes photographed for e-commerce — miter candidates. Fixture internals, storage bins, shipping trays, the back panel of a wall unit — butt joints, and no one will ever know. Plenty of premium builds mix both on one box.
One caution: a badly machined miter is worse than an honest butt joint. If the two 45-degree faces are off by even a degree, the joint gaps at the tip, cement starves, and you get a corner that looks sharp in photos and opens up in a drop. Which brings us to strength.
What actually determines corner strength
Corner performance in an acrylic box depends on joint fit, residual stress, wall thickness, geometry, bonding chemistry, cure, and packaging. Buyers tend to ask about the glue brand first, but a brand name cannot compensate for a dry patch, poor fit, or an unvalidated process.
The material sets the baseline. Cast acrylic sheet specified against ASTM D48022 is a rigid, glassy polymer and is more brittle than polycarbonate.3 A bonded box inherits that material behavior, while its corner and drop performance still depend on geometry, fabrication, and packaging.
Within that reality, a fully wetted joint removes obvious initiation points such as dry patches and bubble chains. It still does not establish a universal percentage of parent-sheet strength: the result depends on material grade, edge preparation, joint fit, bonding product, cure, geometry, and conditioning. For critical loads, specify the use case and validate a production-representative sample rather than borrowing a generic strength figure.
Practical implications for a buyer specifying a box that will be shipped, handled, and restocked: specify the mating-edge finish; require a documented, process-appropriate stress-relief decision; put wall thickness where the load is (see the wall thickness guide for the deflection method); and treat drop performance as a packaging-plus-joinery system, not an adhesive datasheet number. When a buyer needs documented reassurance, the honest offer is a separately paid physical sample produced in 3–5 days, not a strength percentage on a quote sheet.
The QC checkpoints for acrylic box seams
Seam inspection is a short, repeatable discipline per batch sample: check the bond line under the approved lighting and viewing distance, backlight it for bubbles and dry patches, run a fingertip across every joint for squeeze-out and steps, check square, and verify the documented stress-relief decision. Here is the checklist my team runs, usable as your incoming-QC list too.
| Checkpoint | How | Accept | Reject |
|---|---|---|---|
| Bond-line read | Approved viewing distance and even light | Faint uniform line | Bubble chains, dry patches, cloudy band |
| Backlight test | Seam between eye and light source | Continuous wet-out | Sparkling air gaps, starved sections |
| Haze / bloom | Angle joint against dark background | Clear | White blush or craze web along seam |
| Squeeze-out | Fingertip across joint, both sides | Smooth transition | Ridges, smears, drip tracks, prints |
| Alignment | Straightedge across each corner | Matches approved drawing and sample | Unapproved step or out-of-square lid fit |
| Stress relief | Review material and process instructions | Documented decision before bonding | No process decision or record |
Two notes on using this list. First, inspect on a sample before bulk: every custom order we run gets a physical sample against which production is checked piece-by-piece — that is the 100% inspection step in our ISO 9001 process, and it is the lowest-stakes place in the entire order to catch a seam problem. When my inspection team opens a finished order for final QC, we are comparing against an approved sample, not against opinion.
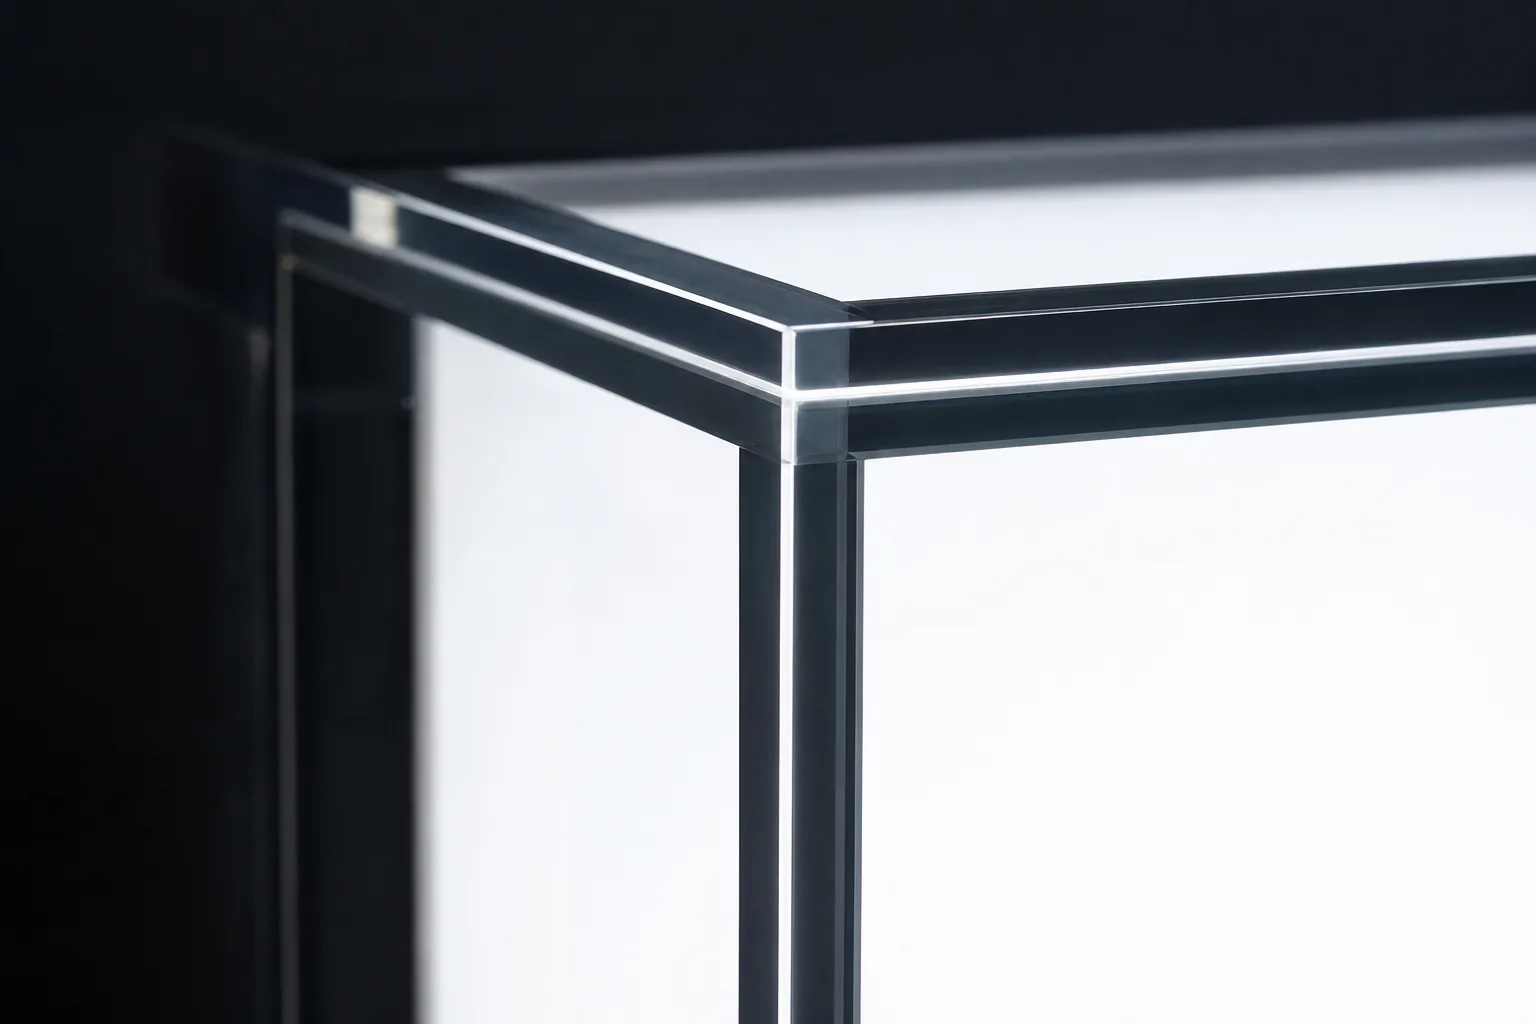
Second, calibrate your expectations to the viewing condition of the end use. A seam approved at a normal display distance can still show texture in macro photography; if your product will be shot in close-up for e-commerce, say so at RFQ stage so the fabricator can quote the appropriate joint and finishing where the camera will land.
Specifying seam quality in your order
Getting good acrylic box seams is mostly a specification problem: name the joint type per corner, the acceptance condition, and the sample gate in your RFQ, and the factory has no room to improvise. Three lines of text protect an entire production run.
Concretely, a seam-explicit RFQ names which corners are mitered and which are butt-jointed, defines the lighting and viewing distance, lists the allowed isolated marks and rejected clusters or haze, and requires bulk production to match the approved sample. Add the end use because close-up photography and normal retail viewing need different acceptance conditions. That is the same logic our team applies when quoting custom acrylic boxes: joint spec follows use, not habit. A dust-control brief also needs a defined closure and test method; use the airtight and dust-seal guide without treating a clean seam as proof of a hermetic enclosure. A heated or humid habitat needs the opening and gasket plan in the reptile enclosure ventilation guide. For a drawing- and sample-controlled example, see the acrylic gift-box project.
Quote: send us your box spec with dimensions, 3–5 mm material choice, named critical dimensions, corner preferences, end use, quantity, packing, and destination for a project-specific quote. Paid Sample: the 3–5-day sample is separately paid and never credited against the bulk order; bulk production is normally 15–20 days after the drawing and sample are approved. MOQ is 100 pieces per design, and the ±0.2 mm standard working tolerance applies only to named critical dimensions accepted on the approved drawing. Browse formats on the acrylic boxes hub or review our custom acrylic fabrication process before submitting the brief.
Footnotes
-
Poly(methyl methacrylate) — Wikipedia — documents that PMMA is joined with solvents such as dichloromethane, which dissolve the polymer at the joint so it fuses and sets into a near-invisible weld; the chemistry behind capillary solvent bonding described in this guide. ↩
-
ASTM D4802 — Standard Specification for Poly(Methyl Methacrylate) Acrylic Plastic Sheet — the specification governing cast acrylic sheet grades, cited for the material standard display-quality box panels are purchased against. ↩
-
Polymethyl Methacrylate (PMMA, Acrylic) material properties — AZoM — materials-science reference for cast PMMA’s rigid, relatively brittle mechanical character, the property that makes box corners the impact-critical detail and joint quality the failure gate. ↩
Frequently Asked Questions
Will glue marks be visible on a custom acrylic box?
3 acceptance cues matter: a uniform bond line, no squeeze-out, and no bubble clusters or white haze under the agreed viewing condition. A faint line can remain where clear faces meet. Approve the actual seam on a separately paid sample produced in 3–5 days before bulk production.
Are small bubbles in acrylic box seams a defect?
0 bubble chains, clusters, or dry patches is a practical sample acceptance target under the agreed lighting and viewing distance. Isolated marks should be judged against the approved sample, because visibility depends on joint design, lighting, and end use.
Why does an acrylic joint turn white or hazy?
2 common mechanisms are moisture-related blushing and stress-related crazing. The fabricator should control the bonding environment and follow the sheet and adhesive suppliers' process-specific stress-relief instructions; no single annealing temperature or duration applies to every grade, thickness, and operation.
When are 45-degree mitered corners worth the extra cost?
45° miters are candidates when the corner itself is visible in retail display or close-up photography. They hide the panel-edge stripe but require more precise machining; request butt-joint and mitered versions on the same drawing because the premium is project-specific.
How strong are bonded acrylic box corners?
100% seam and corner inspection checks workmanship, but it does not create a universal load rating. Corner performance depends on the approved material thickness, joint fit, bonding process, geometry, packaging, and use; validate a critical load or drop requirement on a production-representative sample.
Need a seam-controlled acrylic box quote and paid sample?
Send the box dimensions, material, joint map, quantity, packing, and destination. The 3–5-day sample is paid separately and its fee is never credited to production.