How to Clean Acrylic Displays: 9 Essential Cleaning Rules
One IPA-70% wipe will craze a flame-polished acrylic edge inside 72 hours. The correct cleaning protocol depends more on how the acrylic was finished than on what's in the spray bottle — and most cleaning damage we trace back at our factory comes from a wrong-finish + wrong-cleaner combination, not staff carelessness.
Key Takeaways
- Never use isopropyl alcohol above 50%, ammonia-based glass cleaner like Windex, or acetone on acrylic — all three craze the surface within weeks under daily commercial cleaning
- Mild soapy water with a microfiber cloth is the safest universal cleaner; dedicated acrylic cleaners (Brillianize, Novus, Plexus) add anti-static, UV protection, and a polish layer
- Edge finish determines cleaner tolerance — diamond-polished edges resist up to 50% IPA in commercial sanitization; flame-polished edges craze under any IPA above 30%
- Light scratches buff out with Novus #2 polish and a circular microfiber motion; anything deeper than a fingernail catch should go back to the fabricator, not DIY-polished
- Yellowed or internally cloudy acrylic is not a cleaning issue — it's a material specification issue (non-UV-stabilized resin or solvent contamination during fabrication) and cannot be cleaned out
On this page
- How to Clean Acrylic Displays — The 60-Second Answer
- Why Standard Glass Cleaner Damages Acrylic
- How to Clean Acrylic Displays Daily — Step-by-Step Protocol
- Edge Finish Determines Cleaner Tolerance
- How to Clean Acrylic Stains — Escalation by Stain Type
- Buffing Light Scratches
- When NOT to DIY — Material Problems vs Cleaning Problems
- Long-Term Acrylic Care and Display Lifespan
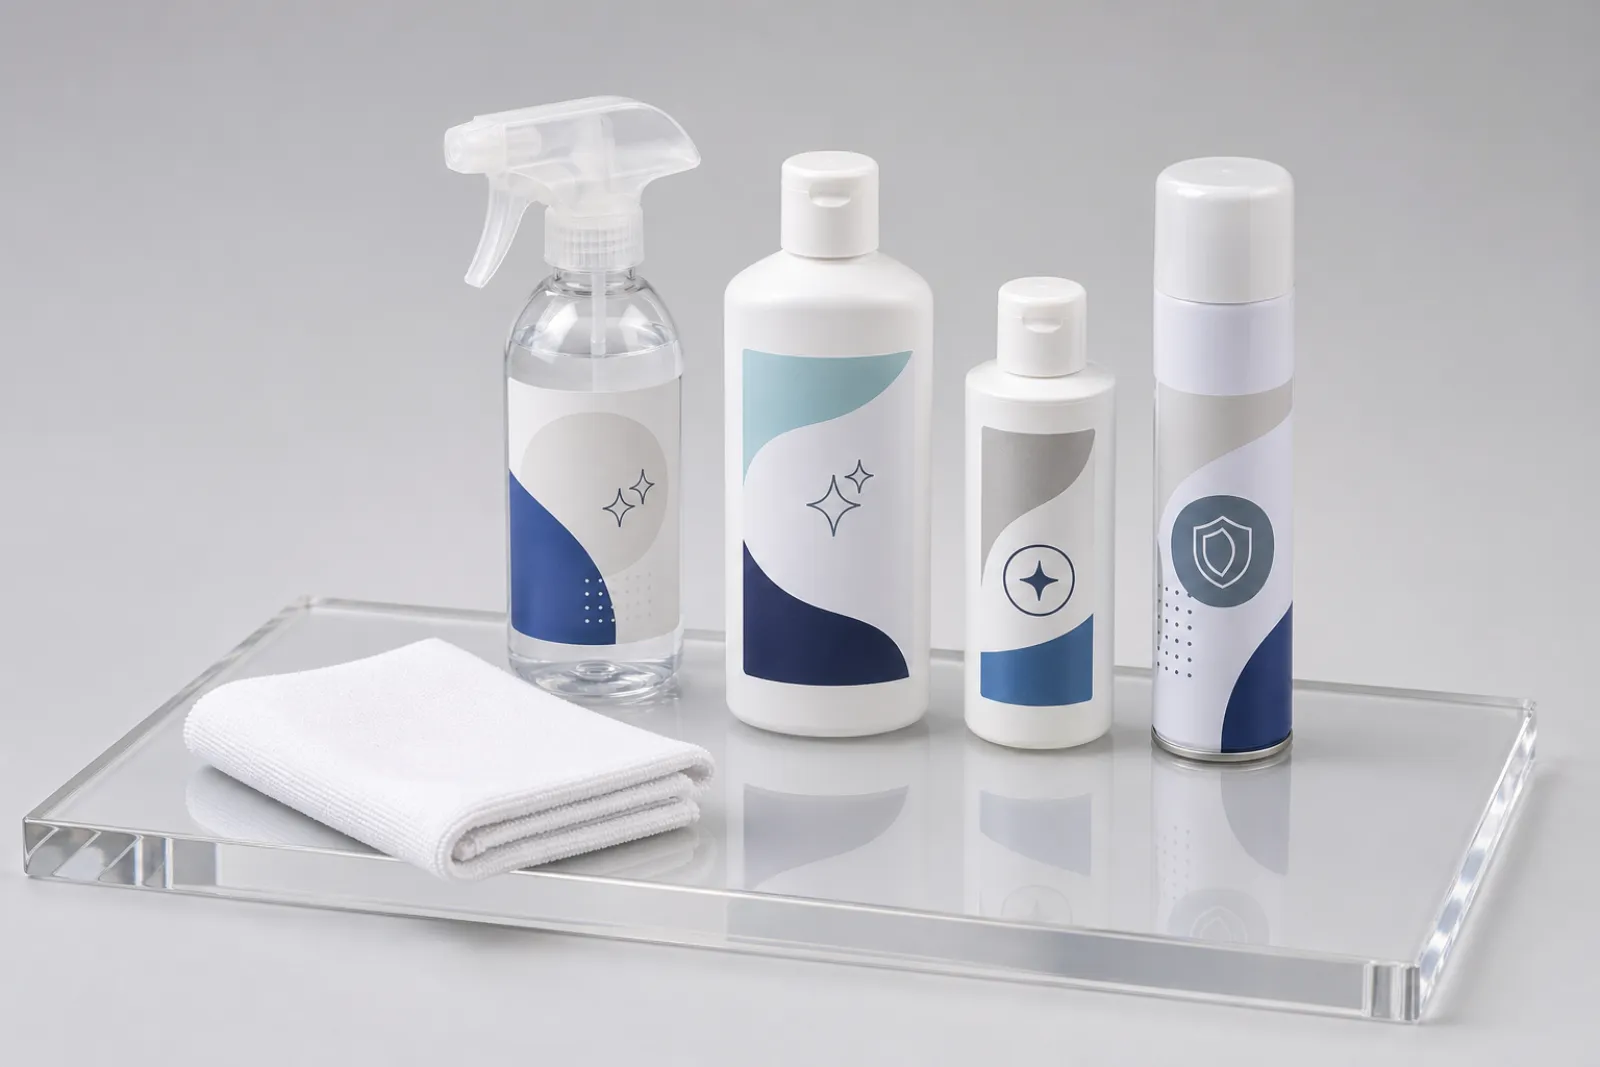
- How to Clean Acrylic — Approved Cleaners Reference Table
How to Clean Acrylic Displays — The 60-Second Answer
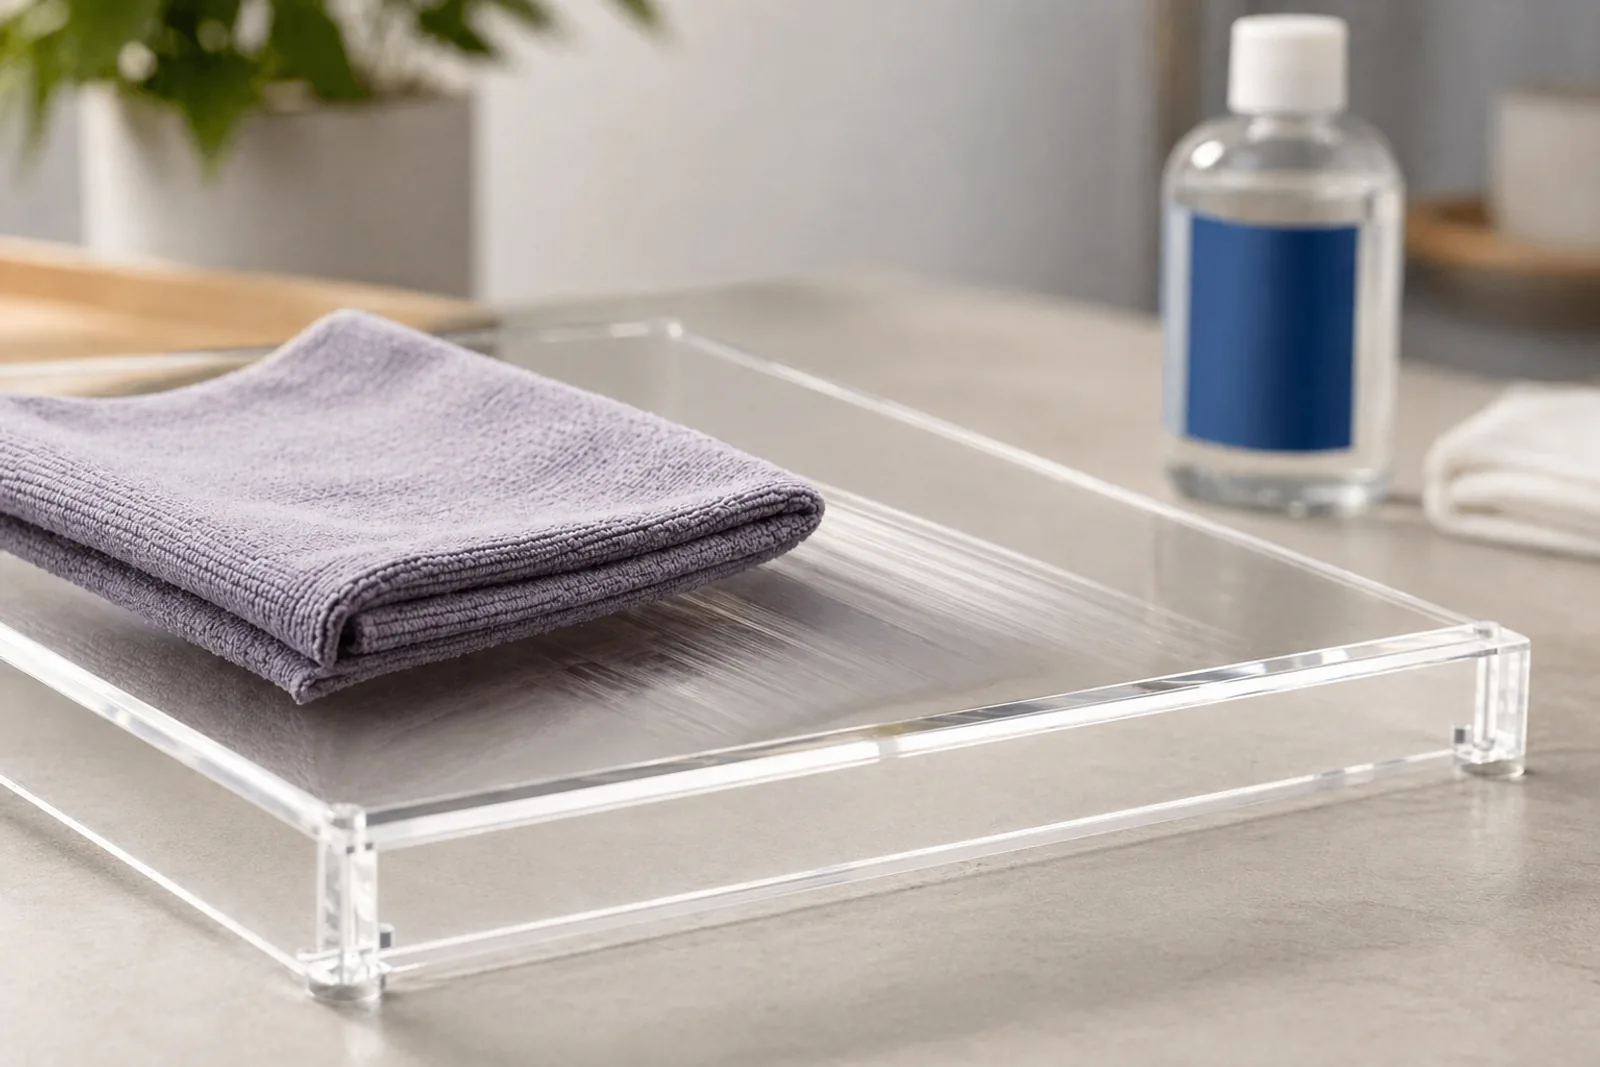
How to clean acrylic correctly: use mild soapy water and a microfiber cloth, or a dedicated acrylic cleaner like Brillianize, Novus, or Plexus. Avoid IPA above 50%, ammonia-based glass cleaner (Windex), acetone, paper towels, abrasive sponges, and dry wiping. Apply cleaner to the cloth — never directly to the acrylic — and wipe in a single direction.
That covers 90% of acrylic display cleaning situations. The remaining 10% — food-service environments under daily sanitizer protocols, retail counters under heavy fingerprint load, and pieces with mixed edge finishes — need the rules in the rest of this guide. Understanding why the rules exist matters more than memorizing them, because new staff and new cleaners enter the rotation regularly and the underlying chemistry doesn’t change.
| Situation | Approved | Forbidden |
|---|---|---|
| Daily light cleaning | Mild soapy water + microfiber | Windex, paper towel, dry wipe |
| Commercial retail / food-service | Brillianize, Novus #1, dedicated acrylic cleaner | IPA above 50%, ammonia, acetone |
| Stain removal | Mild soap → Novus #1 → Novus #2 (escalate) | Solvent-based stain removers |
| Scratch repair | Novus #2 + microfiber, circular motion | Sandpaper, abrasive compound, dry rub |
Why Standard Glass Cleaner Damages Acrylic
Standard glass cleaner damages acrylic because the chemistry doesn’t translate. Glass is chemically inert; acrylic is a polymer with surface stress. Cleaners formulated for glass — particularly ammonia-based products — attack the polymer chains and the residual surface stress, producing crazing: a permanent network of microcracks that haze the acrylic and cannot be polished out.
Three chemistry families produce the damage. Ammonia (in Windex, Glass Plus, and most commercial window cleaners) reacts with PMMA at the polymer level1, breaking backbone bonds at the surface. Isopropyl alcohol above roughly 50% concentration attacks the residual surface stress at edges and at any zone where the acrylic was heated during fabrication. Acetone dissolves acrylic outright — a single splash produces a permanent cloud no polishing will remove. The fourth common-but-overlooked failure agent is hand sanitizer (60–70% IPA), which staff use freely as a “quick wipe” — that single wipe is enough to start the crazing cascade on a flame-polished edge.
I’ve inspected hundreds of returned displays in twelve years running our polishing and finishing lines, all from buyers asking why “the acrylic went cloudy.” In every case we could trace, the cause was solvent damage from a wrong-cleaner choice, not material failure. The acrylic itself doesn’t go cloudy in isolation — it’s reacting to something the cleaning protocol introduced. For the residual stress chemistry, see our diamond vs flame polishing acrylic guide.
How to Clean Acrylic Displays Daily — Step-by-Step Protocol
The correct daily protocol for cleaning acrylic takes 90 seconds per panel and produces consistent results across staff and shifts. Apply cleaner to a microfiber cloth (not the acrylic), wipe in single-direction strokes, flip the cloth to dry-polish with the clean side, then inspect under angled light. Skipping any step introduces a failure mode.
Step 1 — Cleaner to cloth, not acrylic. Spray bottles aimed at the surface produce micro-droplets that dry as residue rings before the cloth catches up. Spray two or three pumps onto a folded microfiber, then approach the acrylic. This single change eliminates 80% of cleaning streak issues we see during final QC.
Step 2 — Wipe in single-direction strokes. Circular motion drags surface particles in loops and produces fine swirl scratches under angled light. Single-direction strokes (top to bottom or left to right) lift particles off the surface and onto the cloth without re-depositing them.
Step 3 — Flip the cloth, dry-polish. Wet acrylic shows every fingerprint and ambient dust pattern as it dries. The dry-polish step removes cleaning residue and produces the streak-free finish customers see. Switching to a fresh cloth between wet and dry is even better in commercial settings.
Step 4 — Inspect under raking light. Hold the panel at a 30–45° angle to a light source. Streaks, fingerprints, and missed spots become visible immediately. Re-clean any flagged area before returning the display to service.
This is the protocol we run on every finished acrylic order before our QC team signs off for shipment. The same four steps work in retail, food-service, and office environments — what changes is the cleaner choice, covered in the next two sections.
Edge Finish Determines Cleaner Tolerance
The most overlooked variable in how to clean acrylic displays is the edge finish — it determines which cleaners are safe to use, not the bulk material grade or thickness. Diamond-polished edges have minimal residual surface stress and resist solvents up to 50% IPA. Flame-polished edges concentrate surface stress and craze under any IPA above 30%. Machine-cut edges craze under almost any solvent within weeks.
| Edge Finish | IPA up to 30% | IPA 30–50% | IPA 70%+ | Ammonia | Acrylic-Safe Cleaner |
|---|---|---|---|---|---|
| Diamond-polished | Safe | Safe | Avoid | Avoid | Safe |
| Flame-polished | Marginal — limit frequency | Crazes | Crazes fast | Crazes | Safe |
| Machine-cut (no finish) | Crazes within weeks | Crazes | Crazes | Crazes | Safe |
The practical buyer takeaway: spec diamond-polished edges if your display will see daily commercial sanitization. The 15–30% upcharge on visible-edge linear inches is the only way the display survives 70% IPA-wipe protocols that became universal across food-service and healthcare retail post-2020. For the full edge-finish chemistry, see our diamond vs flame polishing guide. If you’ve inherited displays with unknown finishes, treat them as flame-polished — the conservative assumption prevents avoidable damage.
How to Clean Acrylic Stains — Escalation by Stain Type
How to clean acrylic stains correctly: start with the mildest method and step up only if the stain persists. Most retail-environment stains — fingerprints, lipstick, hand sanitizer residue, sticker glue, sharpie marker — release with the right escalation sequence. Skipping ahead to the harshest method is what produces permanent damage on what would have been a recoverable surface.
Fingerprints, skin oil, dust: Mild soapy water + microfiber, single-direction wipe, dry-polish. 95% of fingerprint stains release here.
Lipstick, makeup, hand cream: Brillianize or Novus #12 + microfiber. The cleaner contains a surfactant blend that lifts oil-based stains without attacking the acrylic. Two or three passes for stubborn marks.
Sticker residue, label glue: Hot soapy water on a microfiber, soaking the residue for 30 seconds before wiping. Avoid Goo Gone or citrus-based solvent removers — many contain D-limonene that crazes acrylic on prolonged contact.
Sharpie or permanent marker: Novus #2 fine scratch remover applied in light circular motion. Test on a hidden corner first — the mild abrasive lifts marker residue without removing acrylic surface material.
Hard water spots: White vinegar diluted 1:5 with water, single wipe, then immediate clear-water rinse and dry. The acidic chemistry releases the mineral deposit; vinegar left on acrylic for over a minute starts producing surface haze.
Food residue: Hot soapy water for sugar; mild soap + Novus #1 for fat or sauce; for set grease (common on restaurant menu holders left without cleaning for days), Brillianize plus a 1-minute soak before wiping.
For acrylic in food-contact applications where stain removal is more frequent, see our pastry display case buyer guide covering FDA and NSF cleaner protocols.
Buffing Light Scratches
Light surface scratches that don’t catch a fingernail buff out with Novus #22 and a clean microfiber cloth in light circular motion. Apply a coin-sized amount to the cloth, work it across the scratch zone for 30–60 seconds, wipe clean with a fresh microfiber, and finish with Novus #1 to restore the polish layer. The full process takes 2–3 minutes per scratch.
Deeper scratches that catch a fingernail need professional repair — send the piece back to the fabricator or accept that the scratch is permanent. DIY attempts at deeper scratch removal usually involve sandpaper or coarser polishing compound, both of which remove enough acrylic surface material to create a visible depression that subsequent polishing cannot fully restore. Sanding near an edge concentrates stress in a zone that will craze under the next solvent wipe — a common failure we see when buyers attempt corner repairs themselves.
We keep a small Novus #2 + #1 kit at every QC station in our factory and ship the same kit option as a $15 add-on with retail-environment orders. For high-traffic retail displays — bakery showcases, cosmetic counters, sign holders at registers — a 2–3 minute buff cycle every 4–6 weeks extends the visual life of the display by years compared to letting scratches accumulate.
When NOT to DIY — Material Problems vs Cleaning Problems
Three failure types are not part of how to clean acrylic — they are material-level problems that cleaning cannot fix: surface crazing from solvent damage, internal stress cracks from impact or thermal shock, and yellowing from non-UV-stabilized resin3. Identifying these correctly saves cleaning attempts that won’t help and signals when to engage your fabricator for replacement or warranty review.
Crazing is a fine network of surface microcracks visible under angled light, usually concentrated near edges and at heat-affected zones from fabrication. It develops over weeks of solvent exposure and propagates inward. Once present, it’s permanent — polishing only exposes the underlying microcrack network. Panel replacement is the only fix.
Stress cracks are visible linear cracks running through the acrylic body, often through corners or near hardware. Causes include impact, thermal shock (transitioning a display between very different temperatures), and over-tightened mounting screws. Stress cracks cannot be repaired; the affected panel needs replacement.
Yellowing or internal cloudiness developing over 1–3 years is a material specification issue — typically non-UV-stabilized PMMA resin used in the original fabrication. The yellow tint is the polymer chains oxidizing under UV exposure (office LED, store lighting, sunlight). Cleaning will not affect it. The fix is replacement with UV-stabilized acrylic, which holds clarity for 10+ years under typical lighting. Always specify “UV-stabilized cast acrylic” on the original RFQ.
Long-Term Acrylic Care and Display Lifespan
Long-term acrylic care is the multi-year extension of how to clean acrylic correctly day-to-day. A well-fabricated display with diamond-polished edges and a documented cleaning protocol lasts 5–7 years in typical office or retail environments. Failure mode is almost always cumulative surface wear from cleaning — micro-scratches, residue buildup, edge dulling — not structural fatigue.
Storage discipline. When displays rotate out of active use (seasonal product changes, trade-show cycles, retail floor resets), store them in dust covers or original shipping boxes — not stacked on a warehouse shelf where they collect dust and edge contact damage. Avoid direct sunlight in storage; even UV-stabilized acrylic ages faster under prolonged sun exposure than under office light.
Professional polishing every 2–3 years for high-traffic retail. Cosmetic counters, bakery showcases, and register-zone sign holders benefit from a professional re-polish at the 24–36 month mark. The process restores surface clarity and removes accumulated micro-scratching that household polishing cannot fully address. We offer this as a return-to-factory option for repeat clients; most acrylic fabricators with diamond-polishing capability offer the same.
For the upstream buying-stage decisions that determine cleaning lifespan — material grade, edge finish, fabrication process — see our acrylic RFQ guide and supplier audit checklist.
How to Clean Acrylic — Approved Cleaners Reference Table
The reference table below lists every cleaner we see in commercial use against acrylic, with the verdict for each — the working answer to how to clean acrylic condensed to a single laminated card. Print this for staff training; we ship the same as a magnet-backed card with every custom display order on request.
| Cleaner | Verdict | Notes |
|---|---|---|
| Mild soapy water + microfiber | Safe (universal) | Best universal choice; daily use OK |
| Brillianize | Safe | Anti-static, light polish layer |
| Novus #1 (Plastic Clean & Shine) | Safe | Fingerprint and oil removal; daily use OK |
| Novus #2 (Fine Scratch Remover) | Safe (targeted use) | Light scratches and stain escalation only |
| Novus #3 (Heavy Scratch Remover) | Use with care | Deep scratches; risk of removing surface |
| Plexus | Safe | Aerospace-grade4; popular in retail |
| Distilled water + microfiber | Safe | Minimal cleaning power; for dust only |
| White vinegar (1:5 dilution) | Use with care | Hard water spots only; rinse immediately |
| 70% Isopropyl Alcohol | Avoid | Crazes flame-polished edges |
| 50% Isopropyl Alcohol | Marginal — diamond-polished only | Acceptable on diamond-polished surfaces |
| Hand sanitizer (60–70% IPA) | Avoid | Same chemistry as 70% IPA wipe |
| Windex / Glass Plus / generic glass cleaner | Avoid | Ammonia attacks polymer chains |
| Acetone / nail polish remover | Avoid | Dissolves acrylic outright |
| Goo Gone / citrus solvent | Avoid | D-limonene crazes acrylic |
| Paper towels | Avoid | Wood-fiber abrasion micro-scratches surface |
| Abrasive sponge (Scotch-Brite, scouring pad) | Avoid | Removes surface material |
| Dry cloth on dry acrylic | Avoid | Static + abrasion = micro-scratches |
We ship every custom acrylic order with this table printed as a magnet-backed cleaning protocol card — sized to fit on the back of a display or inside a service drawer. For B2B fixture programs across retail chains, hospitality, food-service, and office environments, this five-minute training card prevents most of the damage we see returned for warranty or repair. Send your display brief to us — we respond within 24 hours with a quote, sample card, or clarifying question. No commitment required at the quote stage. Browse our acrylic displays catalog for the standard formats this cleaning guide applies to, and see how proper cleaning protocols were built into a multi-location rollout in the salad bar chain sneeze guard 32-locations case study.
Footnotes
-
Evonik PLEXIGLAS technical information — PMMA manufacturer technical reference for ammonia attack on polymer chains, cited in “Why Standard Glass Cleaner Damages Acrylic.” ↩
-
Novus polish product line — manufacturer of Novus #1 / #2 polishes recommended in the stain-escalation tree and scratch-buffing protocol. ↩ ↩2
-
ASTM D4329 — UV exposure test for plastics — UV-stabilization test standard referenced in “When NOT to DIY” for the yellowing failure mode. ↩
-
Plexus plastic cleaner — acrylic-safe cleaner listed in the approved-cleaners reference table. Original manufacturer URL offline; Novus is the comparable product line we recommend. ↩
Frequently Asked Questions
Can I use Windex on acrylic displays?
No. Windex and most household glass cleaners contain ammonia, which attacks the polymer chains in acrylic and produces surface crazing — a permanent network of fine microcracks that haze the surface. Even one wipe per week will produce visible crazing within 6–12 months. Use mild soapy water with a microfiber cloth, or a dedicated acrylic cleaner like Brillianize, Novus, or Plexus.
What's the safest cleaner for acrylic displays?
Mild dish soap (a few drops in warm water) applied with a clean microfiber cloth. It removes oils, fingerprints, and food residue without attacking the acrylic surface. For commercial retail or food-service environments where you want anti-static properties (acrylic attracts dust) or surface UV protection, a dedicated acrylic cleaner like Brillianize or Novus #1 is the upgrade. Always apply the cleaner to the cloth, not directly to the acrylic surface.
Why is my acrylic display getting cloudy?
Three possible causes, all distinct from cleaning. First: surface crazing from solvent damage (IPA, ammonia, acetone) — the acrylic looks foggy under angled light, often worst near edges. Second: UV degradation if the resin was not UV-stabilized — a slow yellow/gray haze that develops over 1–3 years under office or store lighting. Third: residual mold release or solvent contamination from the original fabrication, which migrates to the surface over months. None of these are cleaning problems and none can be fixed with cleaning.
Can I polish out scratches in an acrylic display myself?
Yes for light surface scratches — anything that doesn't catch your fingernail. Use Novus #2 fine scratch remover with a clean microfiber cloth in circular motions, then finish with Novus #1 to restore the polish layer. For scratches that catch a fingernail, deep gouges, or anything within an inch of an edge, send the piece back to your fabricator. DIY sanding near edges concentrates stress and crazes the surface during the next solvent wipe — we replace more displays from buyer-attempted polishing than from original fabrication defects.
How often should I clean acrylic displays?
In commercial retail or food-service environments, daily — fingerprints, dust, food residue, and skin oil accumulate fast and stain the surface if left for more than 24–48 hours. In office or showroom environments, weekly is typically enough. The cleaning frequency matters less than the cleaning method: a daily clean with the correct cleaner extends acrylic life to 5+ years; a weekly clean with the wrong cleaner damages the surface inside 6 months.
Need replacement panels or a cleaning SOP for your fixture program?
We ship every custom acrylic order with a printed cleaning protocol card listing approved cleaners, forbidden cleaners, and edge-finish-specific guidance — laminated and magnet-backed for staff use.