





Photo Lab Picture Frames Bulk Order Guide
A stable frame program starts with the actual print, visible window, loading method, packout, and one controlled file per SKU.
Need this made?Custom acrylic frames →
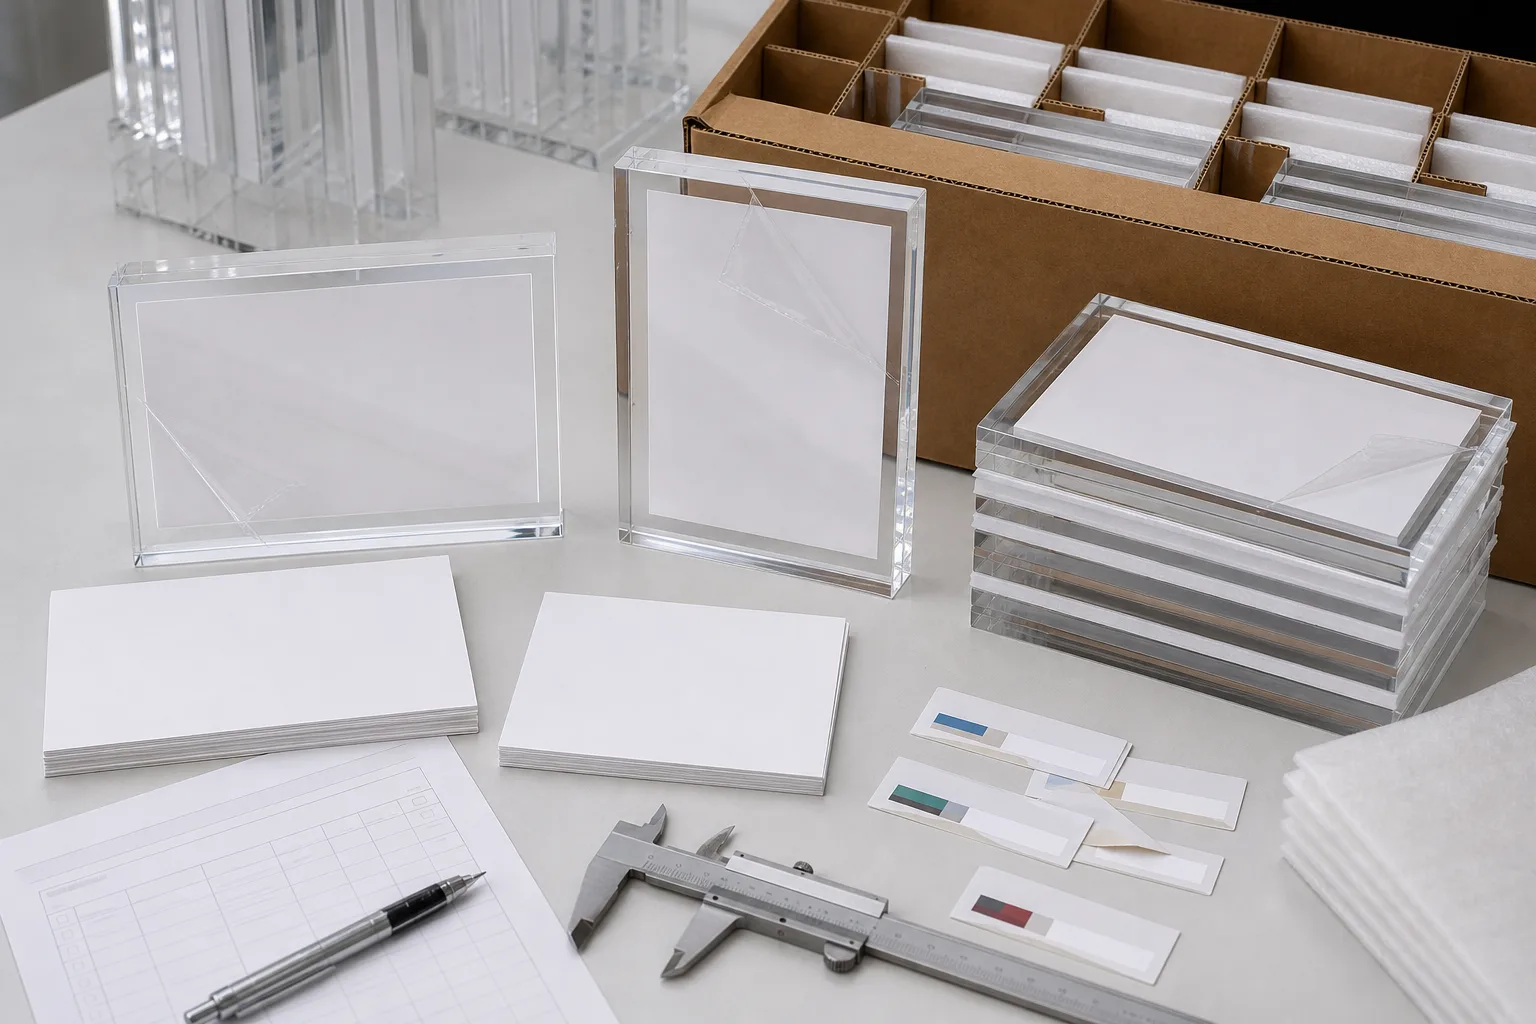
Key Takeaways
- Control finished print size, actual insert thickness, visible margin, loading direction, and orientation for every frame SKU.
- Approve frame fit with the production print and any laminate, mount, sleeve, or backing included.
- Protect polished faces with film, clean interleaves, and carton geometry that prevents movement.
- Seasonal art can change without changing the frame when the insert window and loading path remain controlled.
- A repeat-order file should link the PO, drawing, sample, artwork template, labels, and packing revision.
On this page
- Build the SKU matrix before requesting price
- Measure the finished print stack
- Define the visible window and margin
- Choose a loading system for the lab workflow
- Keep branding separate from customer images
- Protect the frame through print-lab handling
- Approve a production-representative sample
- Control seasonal revisions without re-briefing
- Compare the quote as a complete program
- Build a receiving and defect-triage routine
Build the SKU matrix before requesting price
A photo lab picture frames bulk program needs one controlled row per physical SKU. Record finished print size, insert thickness, orientation, visible margin, frame outside dimensions, loading method, artwork version, quantity, label, and packout. That matrix prevents portrait, landscape, and seasonal versions from being mixed into one vague frame description.
Begin with the selling catalog rather than the acrylic. List the print sizes customers actually order and the way each print leaves the lab. A nominal size may arrive trimmed, laminated, mounted, sleeved, or backed. The frame must accept the finished item, not the name used in the storefront menu.
The acrylic frames hub shows magnetic, slot-in, freestanding, and double-sided formats. Choose a loading system for the buyer workflow. A magnetic frame supports clean face access; a slot-in frame can simplify repeated insert loading; a double-sided frame needs two controlled views.
Separate frame design from artwork version. One physical frame may carry several seasonal inserts. Conversely, the same artwork may need several frame sizes. Keep both identifiers in the PO and carton label.
Measure the finished print stack
Frame fit is controlled by the complete print stack: paper, ink, laminate, mount, backing, sleeve, adhesive, or protective sheet. Measure the finished width, height, thickness, and corner condition. Send production material or a representative sample whenever fit matters.
Paper expands and contracts with moisture, and print finishing introduces cutting variation. The frame design therefore needs a buyer-approved clearance rather than a nominal zero-clearance pocket. ISO 216 defines common A-series paper sizes, but commercial photo products and regional certificate formats often use other dimensions.1
State how the insert loads and how staff remove it. Finger access, pull tabs, magnetic separation, slide direction, and edge chamfers affect the workflow. A print that fits but cannot be removed without bending is not an approved system.
I ask labs to include the thickest approved print stack in the paid sample. If several approved materials share one frame, test the minimum and maximum stack. Record which fit is preferred and which remains acceptable.
Define the visible window and margin
The visible image area is not automatically equal to the print size. Frames, magnets, standoffs, lips, slots, or edge treatments may cover part of the print. Put the visible window and alignment reference on the drawing so artwork is composed inside a known area.
For borderless images, state whether slight edge coverage is acceptable. For matted or logo-bearing prints, give the minimum visible margin. Portrait and landscape orientations may use different alignment references even when the paper size is identical.
Use a physical print with important content near the edge during sample approval. A generic blank sheet cannot show whether a face, caption, signature, or border is being hidden. The print lab owns artwork composition; the frame supplier owns the approved physical window.
When an engraved or printed logo sits on the frame, dimension it from a stable acrylic edge rather than from the loose print. Confirm that it does not obscure the visible image or compete with variable customer content.
Choose a loading system for the lab workflow
Magnetic, slot-in, sandwich, sleeve, and stand-off frames create different handling steps. Select the system from change frequency, staff access, customer use, shipping format, and the acceptable number of loose parts.
A magnetic sandwich frame gives broad access but needs controlled magnet position, polarity, face orientation, and separation method. A slot-in frame reduces loose parts but needs a clear insertion path and approved print clearance. A sleeve can be compact, while surface contact and cleaning require review.
Do not describe magnets as a universal holding-force grade. The acrylic thickness, magnet size, spacing, air gap, print stack, and opening method work as a system. Approve the assembly with the actual insert and nominate any safety or child-access requirement separately.
Ask whether the lab loads frames centrally or ships empty frames to another location. Central loading may justify a dedicated fixture and inspection flow. Empty-frame distribution shifts print fit and handling control to the recipient.
Keep branding separate from customer images
Photo-lab branding should occupy a controlled zone that does not depend on the customer image. Engraving, UV print, screen print, foil, and replaceable labels can work, but the process must match the frame finish and the artwork revision cycle.
Permanent lab identity can sit on the base, edge, or backing panel. Seasonal promotions usually belong on the insert or removable label. This split lets the physical frame survive a campaign change without reworking acrylic.
Approve logo scale, color, placement, viewing side, and orientation. If portrait and landscape frames share artwork, return separate placement drawings. A centered logo on one orientation may feel visually off-center on the other.
The display branding methods guide explains the proof hierarchy. For a frame program, include the customer image, visible window, and logo zone in the assembled sample review.
Protect the frame through print-lab handling
Polished acrylic faces show dust, fingerprints, trapped particles, and abrasion. The packout must keep show surfaces separated from loose hardware, paper edges, staples, contaminated foam, and carton movement.
Specify protective film by surface, clean interleaves, bags, corner protection, inner cartons, orientation, master-carton quantity, and movement restraint. Film is not a substitute for packout: an abrasive particle under pressure can still mark a surface.
Ask when film is removed. A lab loading prints may need one face open while keeping the customer-facing surface protected. Use a clear removal sequence so staff do not trap dust or reapply contaminated film.
The ISTA framework provides repeatable packaged-product test procedures, but the buyer must name the relevant test or distribution profile and approve the packout.2 Do not turn a generic method reference into a guarantee for every carrier or route.
Approve a production-representative sample
The paid sample should represent material, frame geometry, magnets or hardware, loading method, print stack, visible window, branding, protective film, and packout assumptions. A cosmetic mockup that omits the production insert cannot release fit.
Wetop paid samples take 3–5 days, are paid separately, and are never credited to production. Production MOQ is 100 pieces per design. Standard production takes 15–20 days after drawing, artwork, sample, and commercial approvals.
Use an acceptance sheet with measurable and visual checks. Record the drawing revision, print sample, orientation, opening method, visible margin, artwork proof, cosmetic boundary, and packing. Photograph the approved assembly from the front, back, edge, and opened position.
If the sample creates a change, issue a new drawing or artwork revision. Do not annotate several conflicting changes onto chat images and expect the production team to infer the final combination.
Control seasonal revisions without re-briefing
A reorder-ready photo frame program separates stable and variable elements. Stable items include the approved physical drawing, material, finish, hardware, loading path, and packout. Variable items may include insert art, logo version, cohort label, carton mark, and quantity.
Create a change request that names the old revision, requested change, affected SKUs, reason, files supplied, and approval required. The supplier should return whether the change affects price, sample, production time, tooling, packing, or existing stock.
When the physical insert remains inside the approved range, a new artwork proof may be sufficient. When thickness, laminate, mount, cut size, or orientation changes, repeat the fit review. When the frame changes, reopen artwork placement and carton fit.
Archive obsolete files rather than deleting their history. Mark them superseded so a seasonal filename cannot be mistaken for the active production revision.
Compare the quote as a complete program
Require material, finished dimensions, loading system, hardware, branding, quantity by SKU, unit price, sample, protective film, packout, carton data, Incoterm, destination, production time, and freight. Compare suppliers on the same print stack and packing requirement.
A low frame price can hide extra print-lab labor, loose-part sorting, repacking, scratch risk, or dimensional freight. Add the internal loading and handling steps to landed cost. Ask for central-loading and empty-frame packout alternatives when both workflows remain possible.
Use the frame quote form to send the matrix and files. We reply to a complete brief within 24 hours and return missing inputs before quoting.
Keep the approved quote, PO, drawing, proof, sample record, packing specification, carton label, and shipment revision in one program folder. The next order should start from that folder, not from memory.
Build a receiving and defect-triage routine
Bulk frame control continues after the cartons reach the lab. Give receiving staff the PO, SKU matrix, carton map, approved sample photos, and a short inspection sequence. They should confirm carton identity, visible damage, quantity, version labels, frame fit, surface condition, hardware, and packout before production prints are loaded.
Separate transit damage from production nonconformity. Crushed cartons, punctures, water exposure, or impact marks require photos of the unopened shipment, shipping label, damaged carton, inner packing, and affected units. Incorrect dimensions, missing magnets, wrong artwork, or unacceptable finish should be recorded against the active drawing and sample.
Define the sampling plan and escalation path before arrival. A buyer may inspect every presentation face while measuring a defined sample of repeated dimensions. If one defect suggests a systematic condition, expand inspection and quarantine the affected cartons rather than continuing to load prints.
The documented photo-lab bulk-order case demonstrates why multiple POs, packing records, and defect discussions need a stable file trail. Its product is an acrylic photo block, so use the record-control lesson rather than copying its construction.
Close receiving with a dated report and disposition. Record accepted quantity, rejected or held quantity, evidence supplied, remedy, and any change required on the next PO. That final record turns a shipment issue into controlled input for the next repeat order.
Connect the program to the acrylic frames hub and acrylic photo block blanks.
Footnotes
-
ISO 216 paper sizes — ISO defines the trimmed sizes of the A and B paper series used in many markets. ↩
-
ISTA test procedures — ISTA publishes packaged-product test procedures that buyers can nominate for a defined distribution environment. ↩
Frequently Asked Questions
What should a photo lab send for a bulk acrylic frame quote?
Send the actual print or its controlled size and thickness, frame dimensions, orientation, loading method, quantity by SKU, logo artwork, packing, destination, and target date.
What is the MOQ for custom acrylic photo frames?
Wetop's production MOQ is 100 pieces per design. Different sizes, orientations, logo versions, loading methods, or colors may count as separate designs.
Should the sample use the real photo print?
Yes. The paid sample should use the production print, laminate, backing, and sleeve whenever they affect fit, visible margin, thickness, or surface contact.
How do photo labs avoid scratches in bulk packing?
Define protective film, clean interleaves, bags, orientation, inner-carton restraint, master-carton limits, and handling labels, then approve the packout with the sample.
Can seasonal artwork change on a repeat frame order?
Yes. Keep the approved frame drawing fixed and issue a new controlled insert or logo-artwork revision. Recheck placement and packing when the physical print changes.
Build a Reorder-Ready Frame Program
Send the print, SKU list, frame format, logo artwork, packout, quantity, and destination. We will return the missing inputs and sample path within 24 hours.