





Acrylic Tray Size Chart: Thickness and Fit
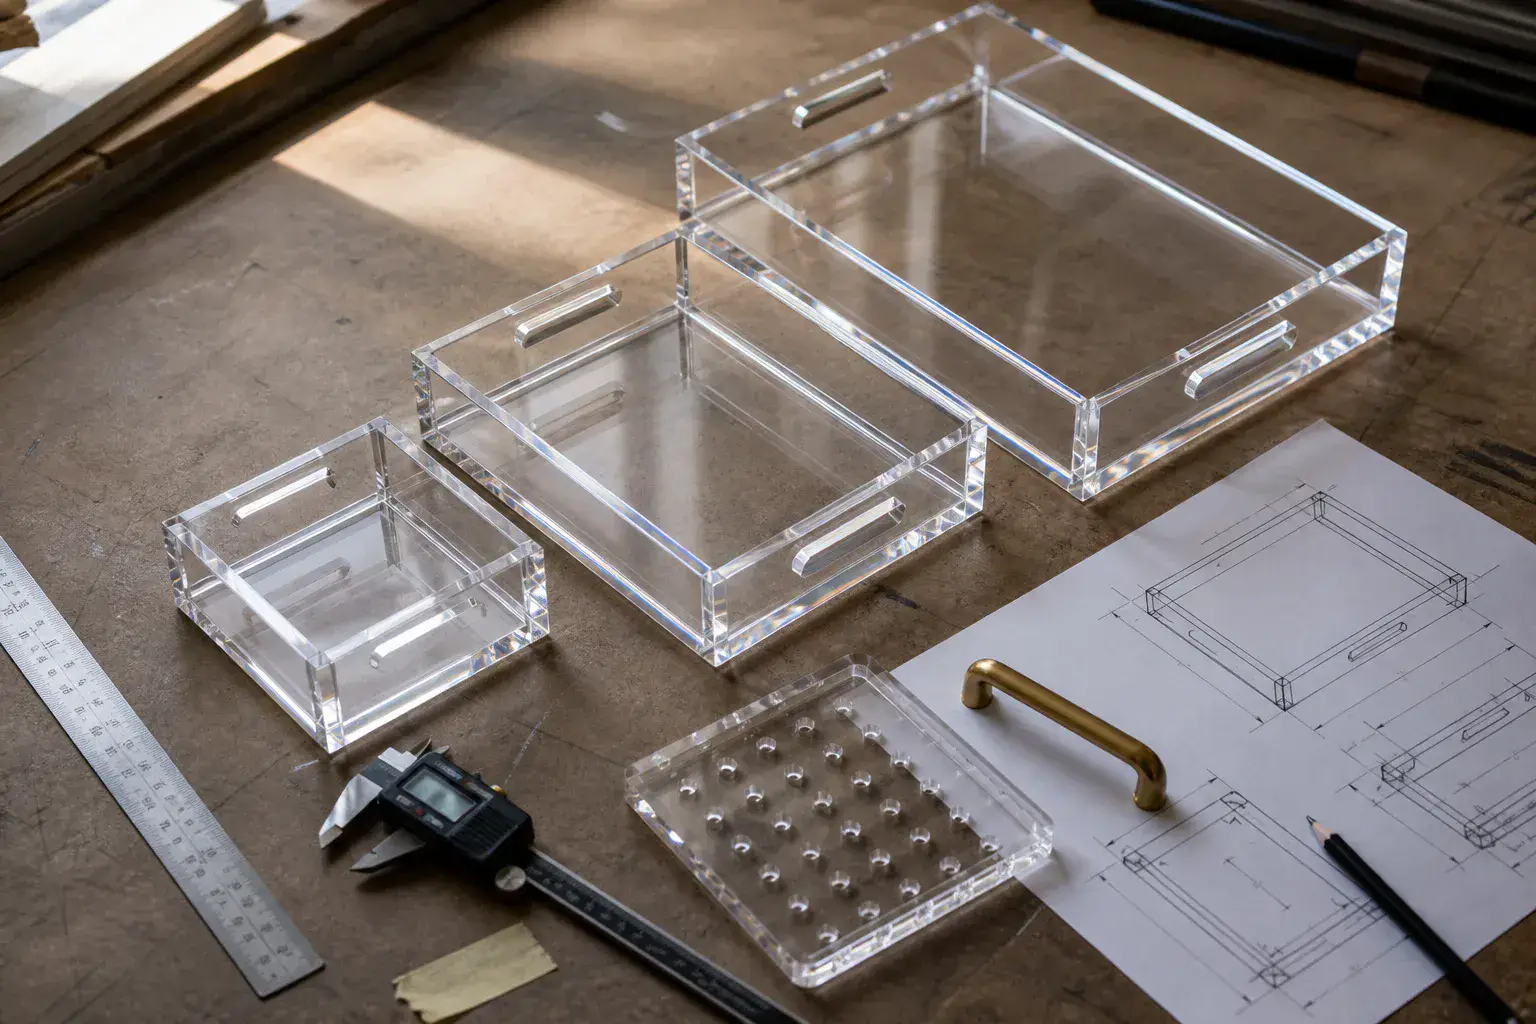
A tray drawing works when it separates usable space from outside size and ties thickness to span, load, handles, and the approved sample.
Need this made?Custom acrylic trays →
Key Takeaways
- Label every dimension internal or external; two wall thicknesses separate usable width from outside width.
- Use 3 mm, 4 mm, and 5 mm as quote-planning bands, then approve thickness against span, load, handles, joints, sheet grade, and the sample.
- Wall height should follow the tallest item and removal path instead of a catalog photo.
- Handles, inserts, dividers, feet, and lid interfaces need their own clearance lines on the drawing.
- Production MOQ is 100 pieces per design; size or artwork changes can create separate design quantities.
On this page
- Use two sets of dimensions
- Choose a starting size from the use
- Match thickness to span, load, and feel
- Set wall height from containment and access
- Draw handles and load paths
- Give inserts and dividers their own tolerance chain
- Check sheet yield, nesting, and cartons
- Send a tray RFQ that closes the fit questions
Use two sets of dimensions
An acrylic tray size chart should show usable internal dimensions and finished external dimensions. Internal width and length control product, insert, and divider fit. External width and length control shelf, drawer, furniture, and carton clearance. The difference equals two wall thicknesses plus any joint or profile allowance on the approved drawing.
The first drawing error I check is an unlabeled dimension. A buyer writes 300 × 200 mm, the insert designer treats it as usable space, and the tray maker treats it as the outside envelope. A 4 mm wall creates an 8 mm difference across each axis before any liner or divider enters the calculation.
Write the dimensions as a pair: outside 300 × 200 mm; usable inside 292 × 192 mm before insert, or reverse the calculation when the product sets the usable space. Add the wall thickness beside the pair so the relationship remains visible after revisions.
Our custom acrylic trays are made to drawings rather than held as stock sizes. That flexibility helps B2B programs, but it places the measurement decision with the buyer and factory. The table below gives a starting point, not a catalog.
Choose a starting size from the use
Common tray sizes work as quote anchors because products and furniture repeat. They do not create a standard. Use the smallest envelope that gives the product, hand, insert, and cleaning method enough room.
| Program type | Quote-planning outside size | Common starting wall | Questions that change the drawing |
|---|---|---|---|
| Amenity or vanity tray | about 10 × 7 in | 3–4 mm | bottle height, liner, drawer clearance |
| Counter service tray | about 12 × 8 in | 4 mm | handles, glassware, spill lip |
| Hospitality serving tray | about 14 × 10 in | 4–5 mm | carried load, handle hardware, nesting |
| Product presentation tray | product array plus border | 3–5 mm | insert, print, SKU changes, removal access |
| Large merchandising tray | drawing controlled | 5 mm or reviewed build | span, dividers, base support, carton limit |
These bands are commercial planning references drawn from common requests and the formats on our trays page. They are not structural ratings. A compact tray carrying dense samples can need more support than a larger tray carrying paper goods.
Begin with the contents. Arrange the physical products on paper or a board, mark the required gaps, and photograph the layout beside a ruler. Add the clearance for a hand or tool to remove each item. That footprint becomes the usable inside size.
Then check the location. A hotel tray may need to fit a drawer. A retail tray may sit inside a display bay. A fulfillment tray may face a master-carton limit. The smallest constraint controls the outside size.
Match thickness to span, load, and feel
Use 3 mm, 4 mm, and 5 mm as starting points for acrylic tray thickness. Compact light-duty trays often begin at 3 mm. Many general service and merchandising trays begin at 4 mm. Larger formats or buyers seeking a heavier edge presence may begin at 5 mm. The drawing and paid sample approve the final choice.
Thickness cannot be selected from width alone. The base span, carried load, handle load path, wall height, joint design, feet, insert, material grade, stacking, packing, and allowed flex all change the result. A base that sits on a full shelf behaves differently from a tray carried between two handles.
Cast PMMA product standards cover properties and dimensional requirements for acrylic sheet, but they do not rate your finished tray.1 Ask the supplier to name the sheet grade and use its current technical data. Then test the actual tray with the intended load during sample approval.
I prefer a sample question over a thickness opinion: “Does the loaded tray feel stable when lifted from the approved handles?” That question names the object, action, and acceptance decision. “Is 4 mm strong enough?” leaves all three unstated.
The acrylic thickness guide explains panel-span inputs in more detail. Use it to challenge a starting point, then let the production drawing and sample control the order.
Set wall height from containment and access
Wall height should keep products in place without hiding them or blocking removal. Low merchandising trays may use a shallow lip. Service trays need enough containment for the carried items. Insert trays may need only the height required to locate a removable component.
Measure the tallest item and the intended hand path. A bottle can clear a low wall from above, while a fitted object may need finger access at the side. If staff tilt an item during removal, draw the tilted envelope or approve it on the sample.
Wall height changes material use, carton nesting, and the way the product reads at eye level. A deeper wall adds acrylic around the full perimeter. It can also increase the space between nested trays. Ask the quote to separate any change that moves material yield or carton quantity.
Use internal wall height on the drawing when the product must clear a liner or insert. Use outside height for furniture and carton checks. Add feet, pads, and base thickness to the outside height rather than assuming the base sits flush.
Draw handles and load paths
Handles turn a tray wall into a loaded component. The drawing should identify handle type, hole or slot geometry, fastener, washer or backing, edge distance, grip clearance, and the load used for sample review. A decorative cutout and a metal pull create different stress paths.
For cutout handles, check the remaining material above and around the opening. Rounded inside corners avoid a sharp internal corner. For attached hardware, state the exact hardware or require the supplier to submit it for approval. The buyer should keep a hardware reference with the repeat-order file.
Carry the loaded sample the way staff will use it. Lift from one side if that can happen in service. Set it down on the intended surface. Inspect the handle area, joints, base, and feet after the check. This is a per-order acceptance review, not a universal load certification.
If the tray does not need to move, remove the handles. That decision cuts hardware, assembly, inspection, and carton-protection work. A product presentation tray and a serving tray may share dimensions yet need different construction because only one is carried.
Give inserts and dividers their own tolerance chain
Tray and insert fit depends on two suppliers’ dimensions when the insert comes from another factory. Put both parts on one drawing or nominate a controlling interface dimension. State which party owns the final fit.
Foam, fabric, card, molded pulp, and acrylic inserts respond differently to compression, edge finishing, and temperature. Do not copy one clearance value across materials. Ask the insert producer for its tolerance and removal recommendation, then test the finished combination.
Dividers need thickness, height, slot or bond method, intersection detail, and removal status. A permanent bonded grid should be inspected as part of the tray. A removable divider set needs orientation marks and a packing method that prevents loose pieces from scratching the clear base.
The tray insert design guide covers compartment decisions. Your tray RFQ should still state the insert material, supplier, finished dimensions, sample availability, and who approves fit.
Check sheet yield, nesting, and cartons
Outside dimensions affect sheet yield and cartons. A small reduction may let the factory cut more bases from one sheet. A small increase may cross a carton or pallet limit. Ask the supplier to show which dimension creates the cost change instead of treating size as a single percentage.
Nesting can reduce carton volume, but printed surfaces, projecting handles, feet, and dividers can prevent close stacking. State whether trays may touch, whether interleaves are required, and which faces need protective film. Do not approve a tight nesting plan before checking finish contact on the sample.
Dimensional-weight rules can make a light carton expensive when it occupies more volume. UPS explains that carriers compare dimensional and actual weight under their service rules.2 Your quote should list carton dimensions, units per carton, gross weight, and freight basis so procurement can compare the same packout.
Our wearable tray manufacturing case shows why load path and use can override a generic size assumption. The product category matches, but the carried geometry demands a different brief.
Send a tray RFQ that closes the fit questions
List the usable inside size, outside limit, wall and base thickness, wall height, handles, feet, insert, divider, artwork, finish, load, quantity per design, packing, and destination. Attach the product layout and identify the controlling revision.
Add one line for each design variant. A size change, artwork change, handle change, or insert change can affect setup and inspection even when the tray family looks the same. Ask the supplier to return quantity, unit price, sample scope, carton count, and freight by variant. That matrix becomes the purchasing record for later repeats.
Wetop’s production MOQ is 100 pieces per design. Paid samples take 3–5 days, are paid separately, and are never credited to production. Production takes 15–20 days after drawing, artwork, sample, and payment approval. We reply to a complete brief within 24 hours.
Use the tray quote form to send the measurements and files. We will return the material, fabrication, artwork, packing, and freight assumptions on separate lines.
That response gives your buyer, designer, and factory one shared dimensional record.
Match the chart to the custom acrylic tray hub and the closest acrylic serving-tray format.
Footnotes
-
ASTM D4802 acrylic plastic sheet — ASTM identifies the material standard used to specify general-purpose acrylic sheet; the finished tray still needs drawing and sample approval. ↩
-
UPS dimensional weight guidance — UPS explains why carton dimensions can affect billable freight weight even when the tray itself is light. ↩
Frequently Asked Questions
What is a common acrylic tray size?
Common buyer briefs range from small 10 × 7 in amenity trays to 14 × 10 in service trays, but the product, shelf, insert, and carton should set the final dimensions. Treat common sizes as planning references.
Should tray dimensions be internal or external?
Use both on the drawing and label each one. Internal dimensions control product and insert fit; external dimensions control shelf, carton, and furniture clearance.
What acrylic thickness should I use for a custom tray?
Start at 3 mm for compact light-duty formats, 4 mm for many general trays, and 5 mm for larger or heavier-feel designs. Final approval depends on span, load, handles, joints, sheet grade, packing, and the sample.
How much clearance does a tray insert need?
The insert supplier and tray factory should approve one shared drawing. Allowances depend on material, edge finish, removal method, temperature, and acceptable movement; validate the finished insert in a paid sample.
What is the MOQ and lead time for custom acrylic trays?
Wetop's production MOQ is 100 pieces per design. Paid samples take 3–5 days, are paid separately, and are never credited; production takes 15–20 days after approval.
Turn Your Tray Contents into a Production Drawing
Send the product footprint, usable space, outside limit, wall height, load, handles, insert, quantity, and destination. We will return a quote within 24 hours.