





From Acrylic Prototype to Production Run
A prototype is only worth what it predicts.
Need this made?Custom acrylic fabrication services →
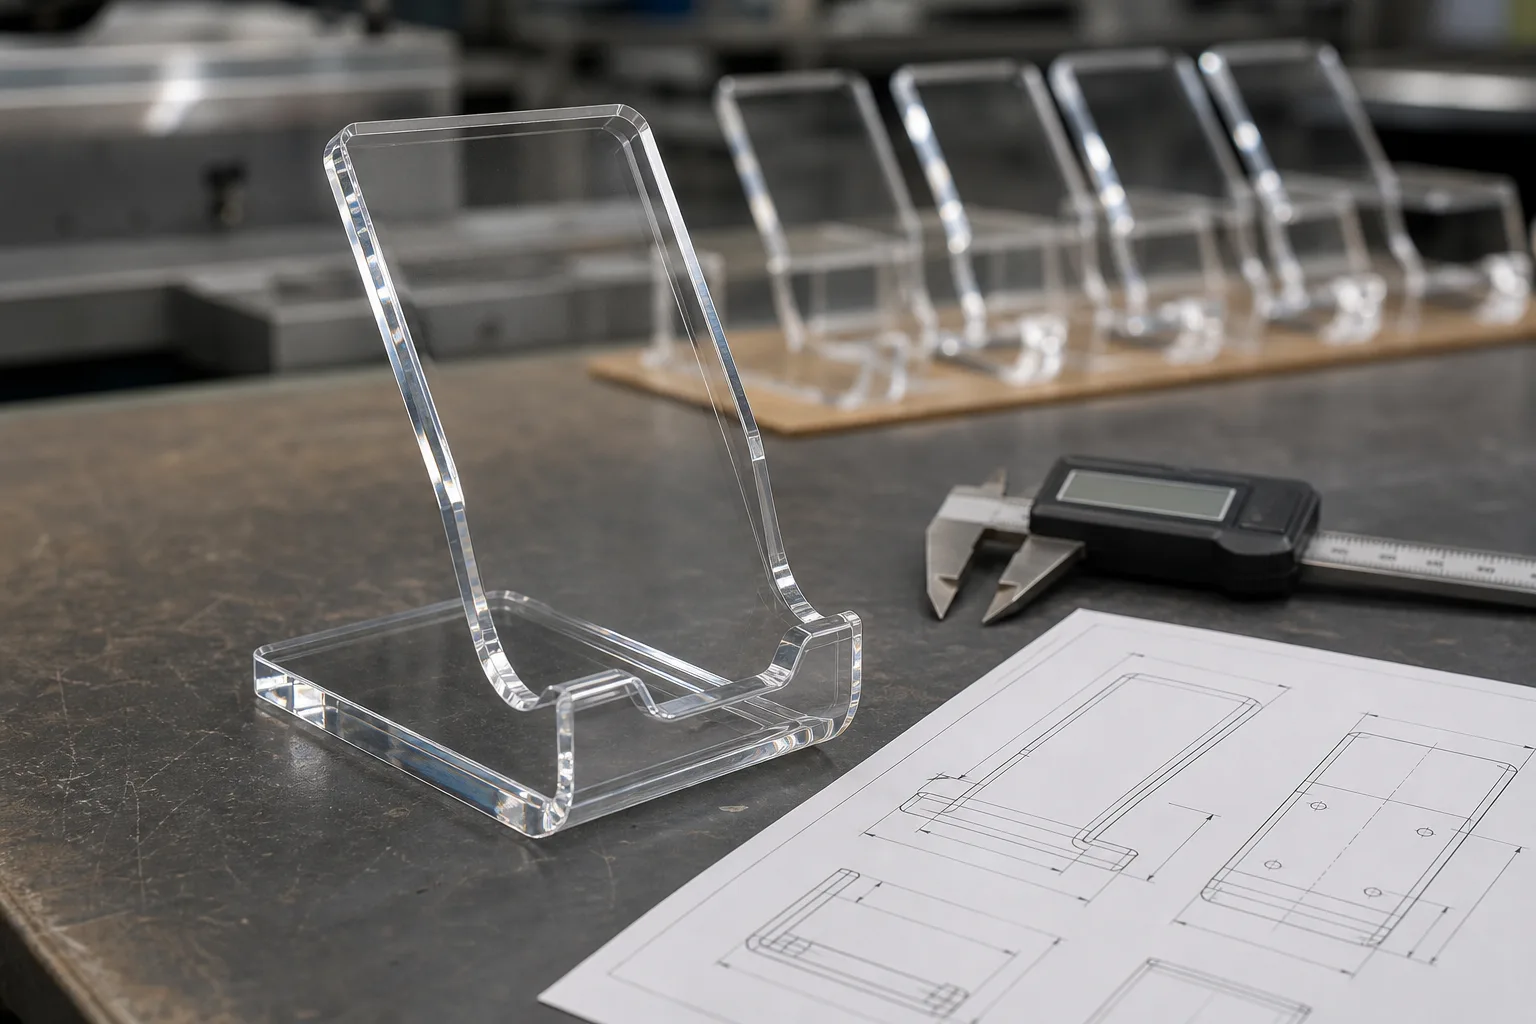
The bridge from one piece to five hundred holds when the sample was built the way the run will be — same sheet, same machines, same finishing.
Key Takeaways
- An acrylic prototype does three separate jobs — dimensional fit, color and finish, and process validation — and a brief that names which job it needs saves at least one iteration round.
- A prototype only predicts production if it is made like production: same cast acrylic sheet, same CNC and laser programs, same polishing and printing lines. A 3D print or an off-material mockup validates geometry, not your product.
- One to two prototype rounds is the normal path. A project on round three almost always has a specification problem, not a fabrication problem — fix the drawing, not the sample.
- When the remaining doubt is about consistency rather than design, skip the second prototype and run a 100-piece pilot batch: it answers repeatability questions a single piece never can.
- Sample and prototype fees are paid separately and are not credited to production orders. They cover part of the material, programming, setup, and finishing required to build one piece.
On this page
- The three jobs buyers actually mean by “prototype”
- Same machines, same sheet: why process consistency is the bridge
- What one prototype cannot prove
- How many iteration rounds is normal
- When a 100-piece pilot beats a second prototype
- What a prototype costs, and why the fee isn’t a deposit
- Locking the approved sample into the production spec
- Starting the bridge
The three jobs buyers actually mean by “prototype”
Three buyers, one word. One wants an acrylic prototype to confirm an insert actually holds their bottle before committing to a full run. Another wants the brand color and the polished edge in hand, because a screen approval has burned them before. A third needs a physical piece on the table for an investor pitch or a retail buyer meeting — the product has to exist before the order does. All three ask for “a prototype,” and the sample that satisfies one would fail the other two. The first job of this guide is naming which prototype you actually need before any acrylic gets cut. The prototype uses the same acrylic fabrication steps the production run will use.
Pinning the word down: an acrylic prototype is a single production-grade piece — cut from the same cast sheet, on the same machines, with the same finishing as the eventual run — built to settle questions before bulk money is committed. The three questions it gets asked to settle are distinct. Some buyers need fit validation: does the insert hold their bottle, does the case clear their product, do the parts assemble. Some need color and finish validation: does the tint match the brand, does the polished edge read premium, does the printed logo sit right on clear material. And some need process validation: will engraving hold this detail, will the bend keep this angle, can this joint carry this load.
Naming the job matters because it sets what the prototype must include and what you should scrutinize when it arrives. A fit prototype can skip printing entirely and save a round. A color prototype should ship with the exact sheet-stock swatch and any custom-matched color already applied. A process prototype should push the riskiest feature — the tightest engraving, the deepest bend — not the average one. When I walk a first-time buyer through a custom fabrication project, this is the first question we settle, because a prototype scoped to the wrong job approves beautifully and predicts nothing.
Same machines, same sheet: why process consistency is the bridge
A prototype predicts production only if it is manufactured like production. That means the same cast acrylic sheet grade the run will use, the same CNC and laser programs, the same polishing line, the same UV printer. Change any of those between sample and run and the approval you signed stops describing the product you’ll receive.
The material half is straightforward: cast PMMA sheet is a specified, documented input — cast acrylic sheet is standardized under ASTM D48021, and manufacturer datasheets publish its optical and mechanical values, including the roughly 92% light transmission that makes a polished clear piece read like glass.2 A prototype cut from the same specified sheet inherits those properties; a 3D-printed model or a mockup in lower-cost extruded off-cuts does not. The process half is where a fabricator’s honesty shows: the cutting program, polishing sequence, and print calibration files created for your prototype should be the same files the production run executes — scaled in quantity, identical in method.
| Validation method | Dimensional fit | Color & finish | Production process | What it’s for |
|---|---|---|---|---|
| 3D render | No | No | No | Communicating design intent |
| 3D-printed model | Yes | No | No | Early geometry checks |
| Off-material mockup | Yes | Partial | No | Rough look-and-feel |
| Production-grade acrylic prototype | Yes | Yes | Yes | The approval that predicts the run |
This is also why acrylic prototyping is cost-effective relative to molded plastics. There is no mold: bodies are CNC- and laser-cut, so the prototype and the production run share cutting files instead of tooling — no tooling fee on most designs, as we’ve written up in the zero tooling fees guide. In injection molding, the prototype-to-production bridge costs five figures of steel; in cut acrylic, the bridge is a saved program. For the deeper comparison of what a physical sample shows that a render cannot, see our pre-production sample approval checklist.
On our floor we enforce the consistency rule structurally: we build prototypes on the production machines, not on a separate sample bench with its own equipment. We pull the sheet from the same stock we would order against for the run, we run the same polishing sequence, and we keep the sample’s program files under the same order number the production run will inherit. It costs us scheduling friction — a one-off interrupting a production machine is never convenient — and we accept that because a prototype built any other way would be a prop, not a prediction.
What one prototype cannot prove
Honest acrylic prototyping includes the list of things a single piece cannot settle: batch consistency, packaging survival, and volume economics. Knowing the limits keeps the approval meaning what you think it means.
Batch consistency is the big one. One piece cannot show piece-to-piece variation across a run — the drift a program only reveals at quantity. Sheet lots also vary slightly: clear stock is extremely stable, but tinted and custom-matched colors can shift subtly between material batches, which is why a custom Pantone match is set up once as a controlled formula ($200-300 one-time per color) rather than re-mixed by eye each order. Second, transit: your prototype arrives in sample packaging, hand-packed; whether production units survive the selected freight lane is a packaging-engineering question for the final assembly and buyer-approved test scope. The custom acrylic packaging insert project shows those approval gates. Third, unit economics: a one-off is all setup and no rhythm, so never extrapolate the prototype’s build time to the run — quantity pricing comes from the quote, which is why we quote the bulk scenario alongside every prototype.
None of these are reasons to skip the prototype — they are reasons the prototype is step one of a bridge rather than the whole bridge. Fit, color, finish, and process land on the single piece. Consistency, packaging, and economics land on the pilot run and the quote sheet. Buyers who map their open questions onto the right instrument get to production faster than buyers who ask one sample to answer everything.
How many iteration rounds is normal
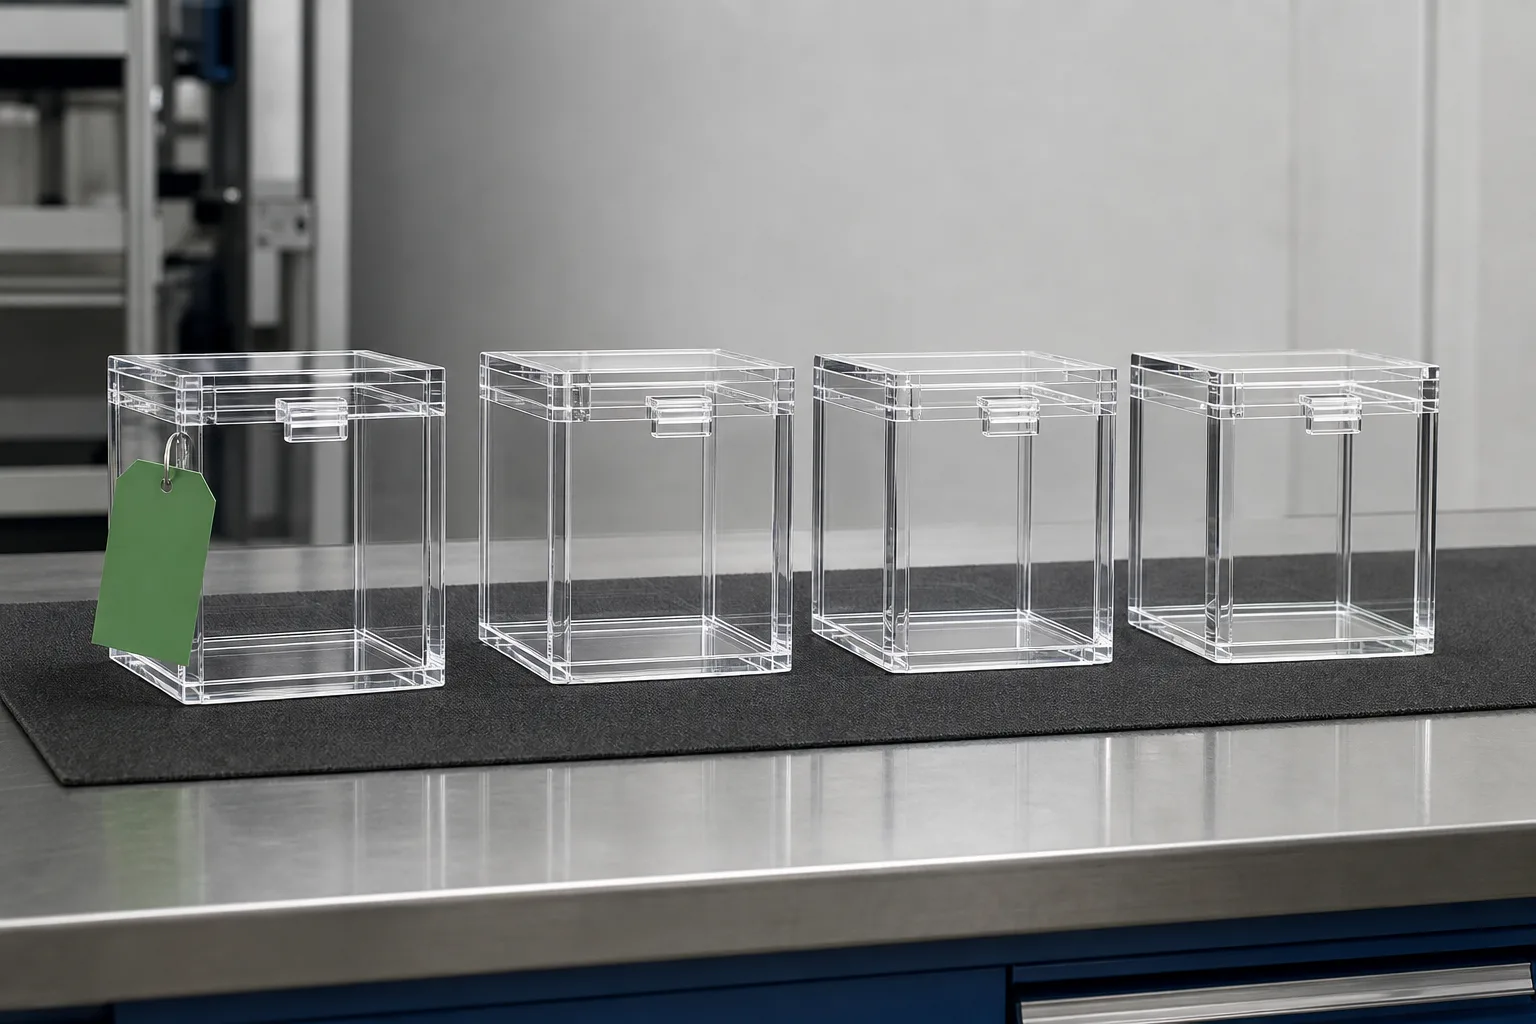
One to two prototype rounds is the normal path to approval. Round one finds what the drawing could not show; round two confirms the fix. A project heading into round three almost always has a specification problem, not a fabrication problem — and the cure is a better drawing, not a third sample.
The pattern I see across the projects I coordinate: first samples rarely fail on workmanship — they “fail” on decisions the buyer had not actually made yet. The wall looked right at 4mm in the render and feels thin in the hand. The logo was specced at 40mm because a number was needed, and in person it wants 55mm. These are healthy discoveries; they are what the sample is for. The discipline is to harvest all of them in one review — check fit, color, finish, weight, and assembly in a single sitting, with the end product physically present — and return one consolidated revision list, so round two is a confirmation rather than a second discovery pass.
When a project does spiral to round three or four, the root cause is nearly always upstream: no physical product sample was sent for fit-critical features, dimensions came from a datasheet instead of calipers, or two decision-makers are revising in different directions. The fix is procedural. Put the real product in our hands before round one, reconcile internal opinions before returning feedback, and state which of the three prototype jobs each revision serves. Each iteration round costs only a 3-5 day sample plus freight — but an unmanaged loop erodes the launch date a week at a time.
When a 100-piece pilot beats a second prototype
Skip the second prototype when the design is settled and the remaining doubt is about consistency, packaging, or real-world handling. A revised drawing with a small dimensional fix does not always need another single piece — a pilot run at our 100-piece MOQ can be the smarter instrument.
The logic is about what each instrument measures. A second prototype answers “did the revision fix it?” — the right question when round one exposed a design fault. A pilot batch answers questions no single piece can: does the fit hold across fifty consecutive units, do the cartons protect them in real freight, does the retail team like the unboxing, do the first customers react. For products headed into subscription boxes, event kits, or store rollouts, those are the questions that actually gate the big order — and a pilot converts them from assumptions into observations while shipping you sellable inventory instead of one more sample.
Deadline math often decides it. I’ve steered plenty of second-sample requests into pilot runs for exactly this reason: a second prototype cycle costs a sample build plus international courier time before production even starts, while a pilot batch enters the 15-20 day production queue immediately and its output is usable stock. When a trade show or launch date is fixed, that difference is decisive — the same compression logic behind our sample-to-production process. The honest boundary: never skip to a pilot while a fit-critical or color-critical question is still open. A wrong single sample costs a courier fee; fifty wrong units cost real money. The precision component project shows how the first article, inspection method, and buyer-approved release were separated before scaling.
What a prototype costs, and why the fee isn’t a deposit
Prototype and sample fees are paid separately and are not credited to production orders. Standard product samples — a display stand, a box, or a tray in your spec — typically carry a sample fee of USD 200–500 depending on complexity. Complex one-off prototypes — a full custom game set or a multi-part assembly with new artwork across many components — cost more because of the CAM programming, machine setup, hand polishing, and print calibration required for one piece. In every case, the fee recovers part of the real one-off cost; it is not a down payment on production.
Here is the logic laid out. A production run amortizes programming and setup across hundreds of units; a complex prototype carries all of it on one piece. If those sampling costs were folded back into production pricing, every production quote would silently carry the prototype costs of every project that never converted — and careful repeat buyers would subsidize window-shoppers. Keeping the two separate keeps both prices honest: the prototype fee reflects one-off work, and production pricing reflects production. Ask which category your project falls into when you request the sample quote — we state it on the quote line itself.
What you should expect around the fee: it is quoted upfront alongside the bulk scenario, so you see both numbers before committing to either; it includes the sample itself with freight quoted at cost; and revision rounds are quoted the same transparent way. Production then runs on standard terms — 30% deposit before production, balance before shipment, FOB Shenzhen with CIF and DDP available. Budget the prototype as what it is: the least expensive validation step in the project, priced as work rather than disguised as a discount.
Locking the approved sample into the production spec
Approval converts your acrylic prototype from a sample into a standard. From that point the approved piece — not the drawing — is the reference every production unit is checked against, and the programs that built it become the archived production files for this order and every reorder after it.
Mechanically, that looks like this on our floor: the approved sample is retained and tagged, the cutting, polishing, and printing programs are frozen as your product’s file set, and the run is produced on those files in 15-20 days. Every unit passes 100% inspection against the approved sample in our ISO 9001-certified factory — the quality-management framework whose entire premise is documented, repeatable process.3 Discrepancies are judged against the physical piece you signed off, which is why the approval review deserves real attention: whatever you approve, including its imperfections, becomes the contract.
The archive is the quiet long-term payoff. Because your programs and approved-sample records stay on file, reorders skip prototyping entirely and repeat the run to the same reference — the system our repeat-order tooling library guide describes in full. For multi-SKU brands, this is how one validated acrylic display or acrylic box becomes a product family: each new variant bridges from an already-proven process instead of starting from zero.
We have carried some of these file sets for years across dozens of reorders, and the pattern across 2,000+ projects is consistent: the buyers who get the most out of acrylic prototyping treat the first order’s sample work as an asset they are building, not a toll they are paying. One well-run prototype cycle, locked into an archived process, quietly de-risks every order that follows it.
Starting the bridge
The prototype-to-production path starts with one message: what the piece is, what it must hold or do, your drawing or reference photos, target quantity, and which of the three validation jobs matters most. No CAD required — a dimensioned sketch or a competitor photo with sizes is enough for us to quote both the prototype and the bulk scenario within 24 hours.
From there the bridge runs on the timeline this guide has walked through: production-grade acrylic prototype in 3-5 days, one consolidated review (or a 100-piece pilot when consistency is the open question), then a 15-20 day production run inspected piece-by-piece against your approved sample. Start your project on our custom acrylic fabrication page or send us your design — we respond within 24 hours, and the first thing we’ll ask is the question this guide started with: what does your prototype need to prove?
Footnotes
-
ASTM D4802 — Standard Specification for Poly(Methyl Methacrylate) Acrylic Plastic Sheet — the specification under which cast acrylic sheet is categorized and purchased, the reason a prototype cut from specified cast sheet shares documented material properties with the production run. ↩
-
OPTIX cell-cast acrylic sheet datasheet — Plaskolite — manufacturer datasheet publishing cell-cast acrylic’s optical and mechanical values, including the ~92% light transmission cited for clear cast PMMA. ↩
-
ISO 9001 — Quality management systems — the quality-management standard built on documented, repeatable process control, the framework behind inspecting production units against a retained approved sample. ↩
Frequently Asked Questions
Can I get a prototype before ordering bulk custom acrylic?
Yes — that is the standard path, not an exception. Send your drawing or reference product, approve the quote, and a production-grade acrylic prototype ships in 3-5 days. After you approve it (or a revised round), production runs 15-20 days at our 100-piece MOQ, and every unit is inspected against the approved sample before shipment.
How does the custom acrylic prototype process work?
Four steps: confirm specs, artwork, material, and target quantity so the prototype is quoted alongside the bulk scenario; build the sample on the same machines and sheet stock the production run will use; review it for fit, color, and finish; then approve or revise. Most projects reach approval in one to two rounds, and the approved piece becomes the QC reference for the run.
Is a prototype fee deducted from the production order?
No. Sample and prototype fees are paid separately and are not credited to production orders. A standard sample may cost less than a complex one-off prototype, but both require material, programming, setup, and hand-finishing for a single piece. Your sample quote states the fee before work begins.
What's the difference between a 3D render, a 3D print, and an acrylic prototype?
A render proves intent, a 3D print proves geometry, and only a production-grade acrylic prototype proves the product. Renders can't show real color, edge finish, or material feel; printed models are the wrong material and the wrong process. A prototype cut from cast acrylic sheet on the production machines is the only sample whose qualities carry into the run.
When should I order a small batch instead of another prototype?
When your open question is about consistency, not design. A second prototype answers 'did the revision fix it?' A 100-piece first production run answers 'does it hold across a real run?' — piece-to-piece repeatability, packaging survival, and real unboxing condition. If the design is settled and the doubt is repeatability or logistics, the production run is the better test.
Explore Custom Acrylic Products
Browse product categories to compare formats, materials, and customization options before choosing the closest fit for your project.