





Case Study · Print-on-Demand · United States
A Two-Stream Photo Tray Program for a Print-on-Demand Company
A US print-on-demand company sells personalized acrylic photo trays.
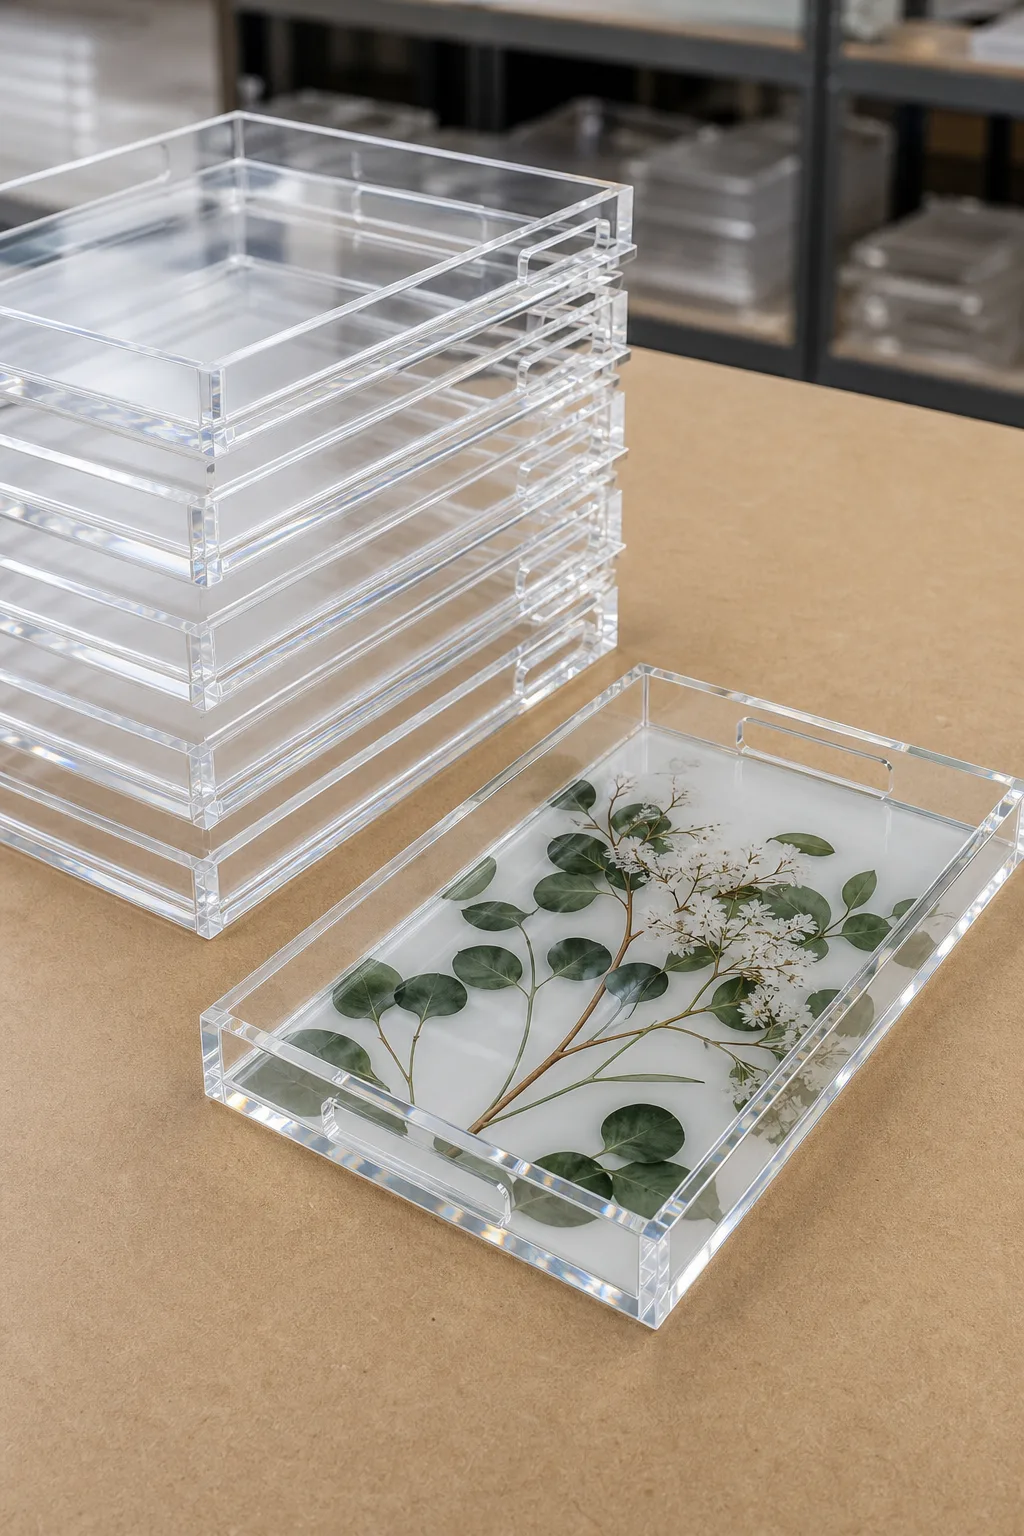
We supply the blanks in bulk for their per-order flatbed printing — and bottom-print their best-selling catalog designs in batches on our side. First order: 600 trays in 15 production days. Since then: six consecutive monthly reorders on the same tooling, with zero tooling fees.
- units, first order
- 600
- monthly reorders
- 6
- repeat turn
- 15 days
- tooling fees
- $0
Key Takeaways
- A print-on-demand catalog splits into two production rhythms: one-off personal photos belong on the client’s own flatbed, while designs that sell repeatedly are cheaper and cleaner to bottom-print in batches of 50+ at the factory.
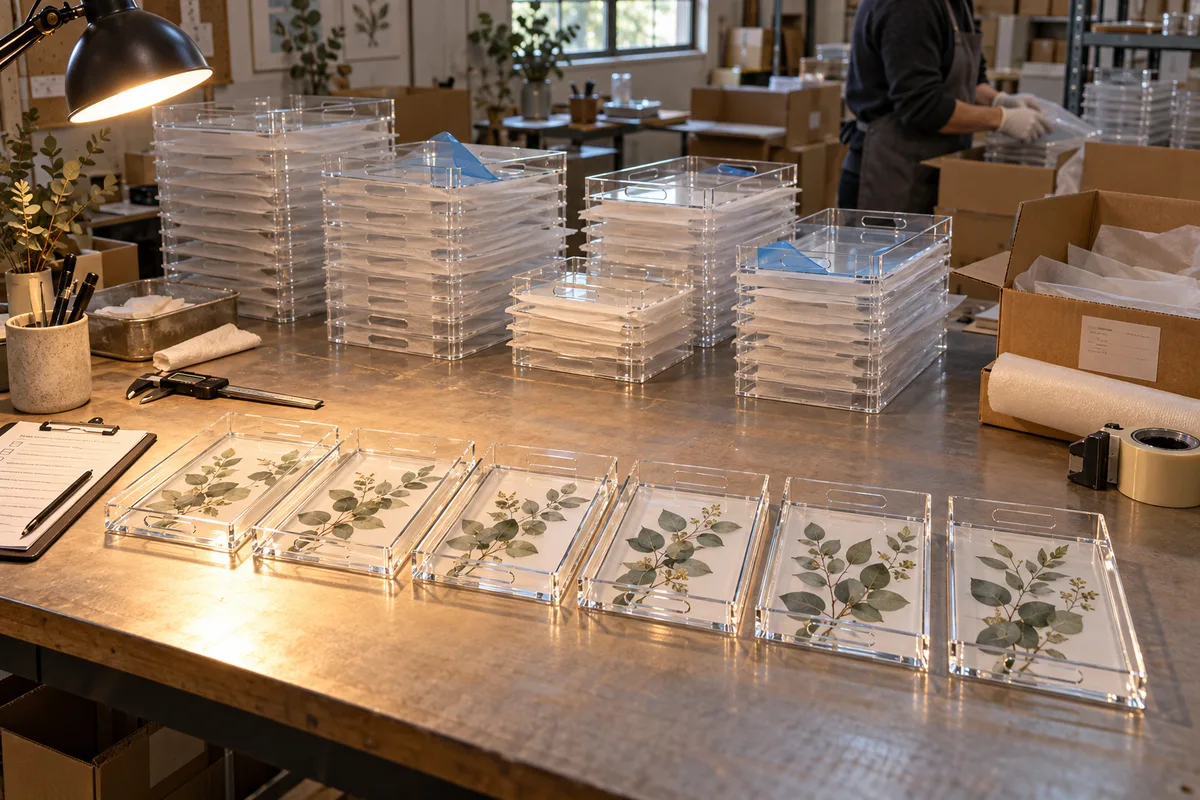
- Bottom printing puts the image under the acrylic — reversed print sealed beneath white backing and seal layers — so the wear surface is solid acrylic, not ink.
- Bottom-print defects cannot be reworked: a dust speck or white-layer pinhole is sealed in view forever, so QC inspects every tray through the face side under raking and backlight checks before packing.
- First order: 600 blank trays across 2 sizes in 15 production days. Standing monthly reorders: 300 blanks + 150 printed catalog trays across 3 designs (50 each under the historical program terms).
- Cutting and print files live in a tooling library with zero tooling fees, so reorders skip the sample round — six consecutive monthly reorders ran on the same 15-day turn.
The Challenge
The scene that started this program: the client's flatbed printer on a weekday afternoon, deep into its fortieth copy of the same botanical design — a per-order machine doing batch work. Underneath that afternoon sit two clocks. The order clock ticks one piece at a time: a customer uploads a family photo, and that exact image has to land on that exact tray within a day or two. The catalog clock ticks in batches: that botanical print and the two abstract designs that sell forty or fifty times a month are, from a production standpoint, not personalized products at all — they are repeat SKUs wearing a personalized storefront.
The client was running both clocks on one machine — the flatbed, the right tool for the one-off photos and the wrong one for anything that repeats. Meanwhile their tray blanks came from a domestic distributor at a per-unit price that made the margin math uncomfortable, in sizes that never quite matched their listings.
What they asked us for was not a product so much as a rhythm: a supplier who could feed the order clock with consistent blanks and take the catalog clock off their floor entirely.
Our Approach
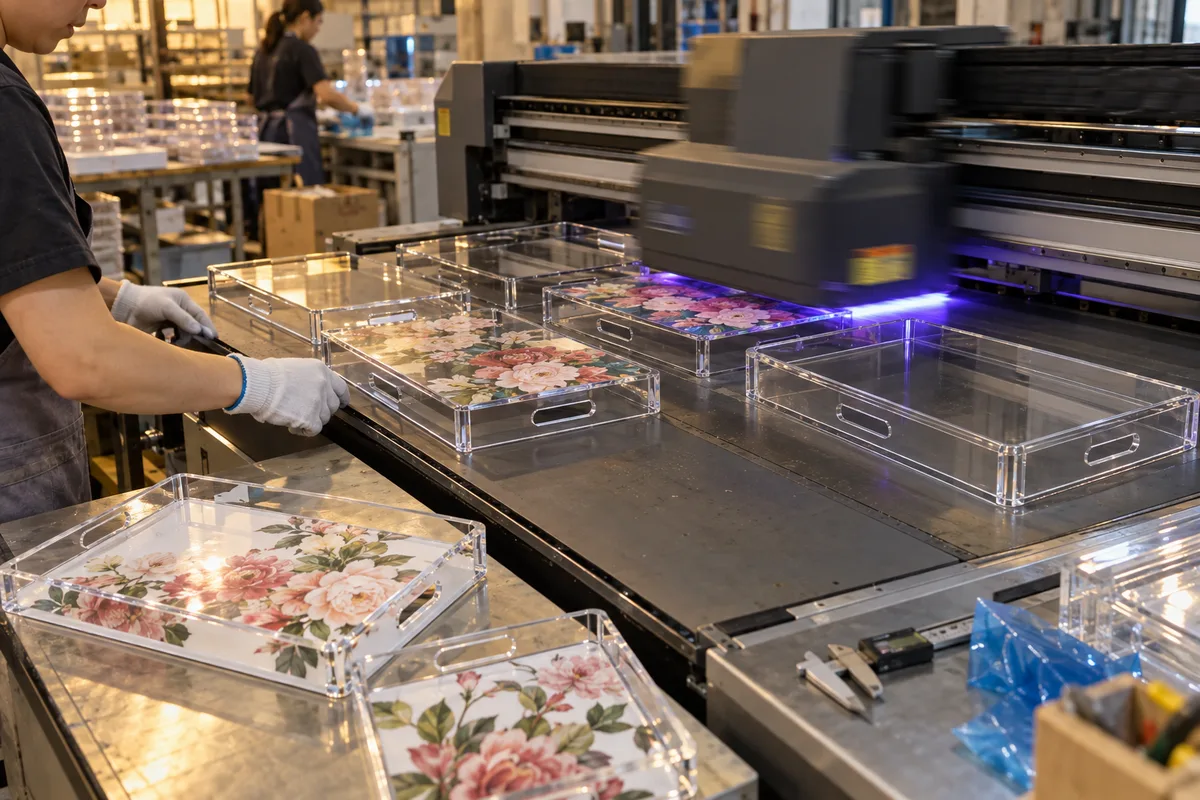
We split the catalog into two streams and put each on the production line it belongs to. One-off personal photos stay on the client's flatbed — no factory can compete with an in-house machine on a one-day, quantity-one turnaround. Everything that repeats moves to our side as batch work: blanks cut and polished in bulk, and the best-selling catalog designs bottom-printed 50 at a time.
| Work stream | Runs where | Batch size | QC gate |
|---|---|---|---|
| One-off personal photos | Client's in-house flatbed | 1 piece, per order | Client operator checks each print |
| Blank trays | Our CNC + polish line | 300–600 per order | Dimension check + edge-polish inspection |
| Catalog designs, bottom-printed | Our UV print line | 50+ per design (historical program) | 100% face-side inspection under raking and backlight |
The blank as a precision product
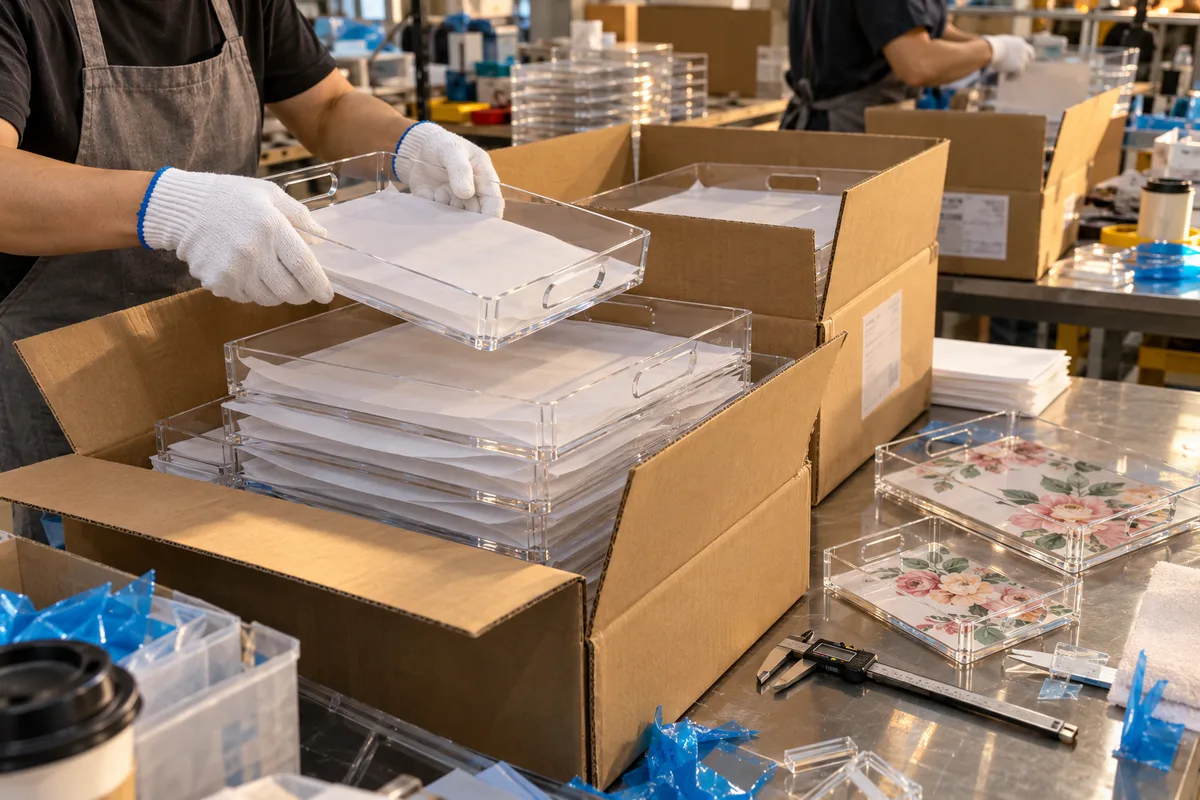
A blank tray sounds like the easy half, but it is the part the client's own printer depends on. If base thickness wanders, the flatbed's print height is wrong; if the corner radius varies, their jigs stop locating. We standardized two sizes — 280 × 180 mm and 380 × 250 mm, both in 5 mm clear acrylic with polished edges — and hold them to the same drawing on every reorder. The first order was 400 of the small and 200 of the large, packed with interleaving film so the trays arrive flatbed-ready without a re-cleaning step.
The bottom-print QC gate
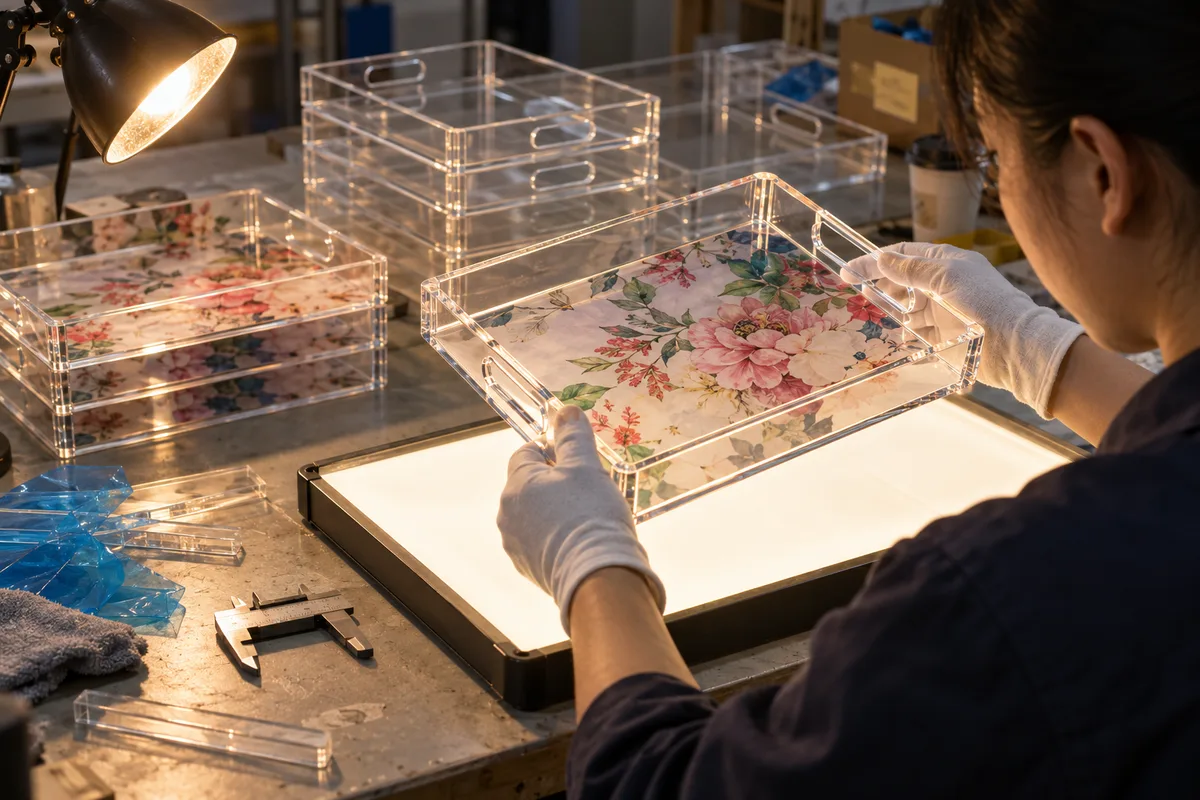
Bottom printing is what makes an acrylic photo tray read as a premium object: the image is printed reversed on the underside of the base, then sealed beneath white backing and seal layers, so the customer looks at the artwork through 5 mm of glossy acrylic. The same construction creates its one unforgiving property — every defect is laminated in view. A dust speck that lands between ink and acrylic, or a pinhole in the white layer that reads as a bright dot against a dark design, cannot be polished out or over-printed. The piece is scrap the moment it happens.
So the gate sits at the end of the print line, not at packing: every printed tray is inspected through the face side under raking and backlight checks — the way a customer will actually look at it — for inclusions, pinholes, banding, and registration against the tray outline within ±0.5 mm. Flawed pieces are re-run inside the same production window rather than argued about after delivery. The full checklist we run is the same one described in ourbottom-printed tray print-quality guide.
One decision from the first cycle stuck: we print roughly 4% overage on every catalog batch. The overage means a batch never ships short — the client's listings stay live even when a piece fails the gate — and the spare stock absorbs their occasional customer-service replacement without a special order.
The Results
The first 600-tray order shipped after a 4-day sample and a 15-day production run. The real result is what happened next: the program settled into a standing monthly rhythm that has now repeated six times without a re-sample.
The monthly order works out to about 450 pieces: 300 blanks feeding the flatbed, and 150 printed trays across the three catalog designs — 50 of each under the historical program terms exactly. Because the cutting files and print files sit in the tooling library and CNC-cut acrylic carries no mold cost, each reorder goes straight to production at the first order's pricing. At month 5 the client added a third, square tray size to the blank stream on a one-off 4-day sample, and it folded into the same monthly PO.
"Forty copies of the same design is a bad day for a per-order machine — that was our flatbed most Thursdays. Now the blanks land mid-month like clockwork and the catalog batches arrive already printed and packed. The through-the-face inspection is the part I'd tell other sellers to ask about: the one flaw you can never fix on these trays is the speck under the white layer."
What This Means for Your Project
If you run a print-on-demand or personalization business, the split that worked here probably maps onto your catalog too. Look at your sales by design rather than by product: anything that sells 50+ units a month is batch work pretending to be custom work, and moving it to factory bottom printing frees your in-house machine for the orders that genuinely need it. The blanks side is just as much a spec conversation — thickness tolerance and corner radius matter more to your print jig than they do to your customer. The base formats both streams start from sit on our custom acrylic trays hub, underphoto-insert and printed-art trays, made to order from 100 pcs.
The recurring structure is the part worth copying: one drawing set in a tooling library, zero tooling fees, a standing monthly PO on a 15-day turn, 30% deposit and balance before each shipment. It behaves less like repeated purchasing and more like an outsourced production line. Our custom acrylic fabrication process handles the first cycle — sample, print proof, gate criteria — and every cycle after that is repetition.
Common Questions
Why bottom-print an acrylic photo tray instead of printing the top face?
Because the wear surface and the image should not be the same surface. A bottom print is applied to the underside of the tray base — image reversed, then sealed beneath white backing and seal layers — so the customer looks at the artwork through the acrylic. The glossy face gives the photo depth, and cups, keys, and cleaning cloths ride on solid acrylic rather than on ink. A top-face print looks identical on day one and starts scratching through wherever objects slide.
What does a bottom-print QC gate actually check before shipment?
Every printed tray is inspected through the face side under raking and backlight checks — the way the customer will see it — before it is packed. The gate looks for dust inclusions trapped between ink and acrylic, pinholes in the white backing layer that read as bright specks against the artwork, ink banding, and print registration against the tray outline within ±0.5 mm. The reason the gate sits before packing is that none of these defects can be reworked: the print is sealed against the base, so a flawed piece is re-run, not repaired.
How do recurring monthly reorders work with MOQ and tooling?
The cutting files and print files from the first order stay in the tooling library, and because acrylic trays are CNC-cut rather than molded there are zero mold-tooling fees to re-pay. Reorders skip the sample round and go straight to production — on this program a standing 15-day turn. This historical program used a grandfathered recurring batch split across catalog designs. New programs follow the current 100-piece production MOQ per design; quantities from separate designs do not combine. Each purchase order runs on the standard terms: 30% deposit, balance before shipment.
Running a personalization catalog on one machine?
Send us your tray sizes, your monthly volumes by design, and a listing link — we'll come back with a two-stream proposal, a sample plan, and a quote.
Sample in 3–5 days · Production in 15–20 days · MOQ 100 pieces per design · Zero tooling fees