---
title: "Two-Tone Acrylic: Laminated vs Edge-Bonded"
description: "Two-tone acrylic fabrication compared — layer lamination vs edge-bonded color splits, bond line QC, delta-E color control, and where each build wins."
category: "Manufacturing"
author: "Dillion Chen"
authorCredential: "Production Manager at Wetop Acrylic — running laser, CNC, polishing, and UV printing lines since 2014, 1,500+ custom projects personally overseen"
datePublished: 2026-07-21
dateModified: 2026-07-21
primaryKeyword: "two-tone acrylic"
url: https://wetopacrylic.com/guide/two-tone-acrylic-tray-fabrication/
---
## Two colors, one part — what two-tone acrylic actually is {#what-is}
Two-tone acrylic is a part built from two solid acrylic colors, and it is fabricated one of two structurally different ways: laminating two colored sheets face-to-face, which hides the bond plane inside the part, or bonding two colors edge-to-edge, which puts the color split — and the bond line — on the visible face.
On our production floor the two routes do not even share a station. A laminated two-tone tray starts as two full sheets going into a bonding jig stacked flat, pressed while the bond cures across their whole shared face. An edge-bonded panel starts as two machined color fields meeting at a prepared edge, held in a fixture while a single visible line cures straight. Same material, same solvent chemistry, completely different geometry — and almost every property a buyer cares about follows from that geometry: where the bond line sits, how much bond area carries the part, and how hard the QC has to work. What both routes share is that the color is *structural*: each tone is solid cast acrylic running through its full layer, so a polished edge shows true color and an engraved face cuts into real material. That separates two-tone construction from two-tone *finishes* — printed gradients and surface effects — which live on the surface and are covered in our [specialty acrylic finishes guide](/guide/specialty-acrylic-finishes-metallic-pearlescent/); this page is about the structure underneath.
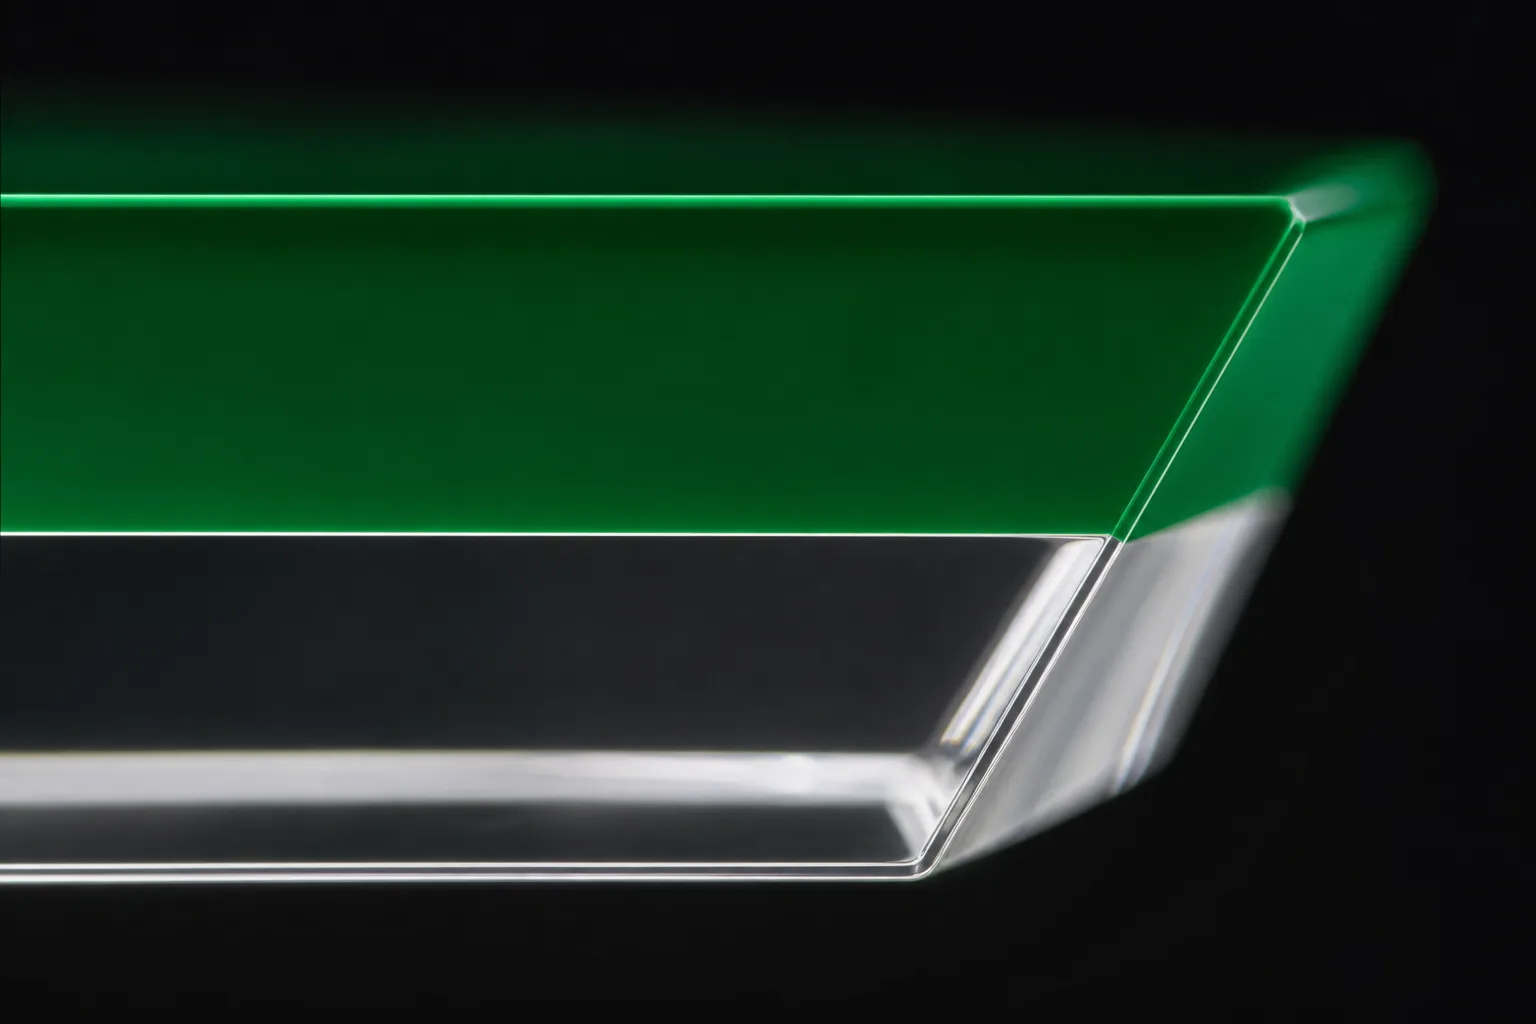
The two two-tone builds in cross-section. Lamination stacks the colors and buries the bond plane; edge bonding joins them in-plane and makes the bond line part of the design — which is exactly why it is the harder line to run.
---
## Layer lamination — the stacked build {#lamination}
Layer lamination bonds two colored sheets face-to-face into one blank, which is then cut, machined, and polished as a single part. The bond plane is buried inside the part, the bond area is the entire shared face, and each layer keeps its own color identity — the geometry that makes lamination the production-proven two-tone route.
The tray version is the easiest to picture: a colored base sheet — deep green, black, a brand color — laminated under a clear or contrasting top layer, so the finished tray reads as a colored floor under a glass-clear body, with the color visible through the polished edges as a clean horizontal band. Because each color is a separately cast sheet, each holds its own Pantone independently; nothing about the bonding step mixes or shifts the tones, which is why bonded two-tone holds color register at 1,000+ unit scale where single-pour two-color casting drifts. The full-face bond also does quiet structural work. A laminated blank behaves like one thick sheet in machining and in service — there is no narrow joint to stress — and the bond plane is protected from cleaning chemistry and handling because it never surfaces anywhere except the polished edge. When my operators set up a two-tone tray run, the lamination step happens before any part geometry exists at all: we bond full sheets, check the bond across the whole face, and only then send the blank to the CNC — a reject caught at the blank stage costs a sheet, not a finished tray.
---
## Edge bonding — the side-by-side build {#edge-bond}
Edge bonding joins two colored fields at a machined edge so the color split runs across the visible face. It is the route for color-blocked designs — a tray with a contrast handle zone, a sign panel with two brand fields — and it is the harder build, because the bond line itself becomes a cosmetic surface.
Everything difficult about edge bonding follows from that one fact. The bond area is a narrow edge instead of a full face, so joint fit has to be machined tight — the two edges must meet flat and square along their whole length, because any gap reads as a bright line where the solvent pooled or a dry spot where it didn't wet. The line must also run *straight* to the eye: a color boundary magnifies waviness that a clear-on-clear joint would hide, since the human eye is very good at spotting a wobble in a contrast edge. And both faces must stay flush across the joint — a step of even a tenth of a millimeter catches light and fingertips. I have rejected far more edge-bonded panels than laminated blanks in twelve years of running these lines, and almost always for cosmetics rather than strength: the joint held fine; it just didn't look like a design feature anymore. The practical guidance we give buyers is honest about that: choose edge bonding when the visible color split *is* the design, budget for tighter QC and a slightly higher reject rate, and keep the joint away from high-flex zones — a narrow edge bond does not carry load the way a laminated face does. Past a few hundred pieces per run, that QC overhead is the real cost driver — plan inspection time accordingly.
---
## Holding two colors to one standard — delta-E and the master swatch {#color-control}
Two-tone color control is single-color control doubled, with one aggravation: the two tones frame each other, so drift shows faster. Color-difference guidance treats a delta-E above roughly 2.5 as visible on side-by-side inspection[^konica] — and a two-tone part is a permanent side-by-side of its own two colors.
The control that works is physical, not numerical: a master swatch per color, approved by the buyer before production, then held as the reference the batch is inspected against. The delta-E math behind that comparison is formalized in ASTM D2244, the standard practice for calculating color differences from instrumented measurements,[^astm-d2244] but on the floor the discipline is simpler — both sheets for a run are cut from single verified color batches, and the swatch pair travels with the job. Custom colors add one known cost: a Pantone-matched custom color carries a $200–300 one-time setup per color, while stock palette colors carry none — a two-tone part with two custom colors pays that twice, once each. The table below places the two structural builds against the two other two-tone routes a buyer will see quoted elsewhere, with the economics we walk through at spec stage:
| Two-tone route | What it is | Cost signal | Color behavior at scale |
|---|---|---|---|
| Laminated (stacked) | Two cast sheets bonded face-to-face | Roughly 25–45% over base sheet | Each color holds its Pantone independently; stays under the visible-drift threshold at 1,000+ units |
| Edge-bonded (side by side) | Two color fields joined in-plane | Similar premium plus tighter QC allowance | Same per-sheet color stability; the bond line adds cosmetic reject risk |
| Solid-cast two-color | Single pour with two pigments | Roughly 50–80% over plain colored | Drifts with batch — pigment interaction; reorder risk grows past ~800 units |
| UV-printed gradient | Printed color transition on one sheet | Lowest entry cost | Clean transitions, but the printed layer cannot be edge-polished and ages under retail lighting at 18–24 months |
The routing logic mirrors the [specialty finishes guide](/guide/specialty-acrylic-finishes-metallic-pearlescent/), which covers the pigment-side story in depth: when the program is color-critical and the volume is real, the bonded builds are the ones that keep the 1,000-unit reorder looking like the 100-unit sample.
### What to put on your PO so the colors survive the reorder
One procurement habit is worth taking from this section: write the color QC into the purchase order, not the email thread. The reorders that run smoothly on my line are the ones whose PO names each color twice — the Pantone code *and* the approved master swatch it must match — and states the acceptance rule: batch checked against the approved swatch pair, with visible side-by-side drift as a reject. Two questions separate suppliers before signing: are both colors cut from single verified sheet batches, and what happens on a reorder six months out. A real answer describes re-pulling archived swatches, not re-approving from a screen. I have heard "we match to the Pantone book each time" from enough trade-show competitors to flag it plainly: the book states the target, the swatch records what the approved parts actually look like — and on a two-tone part, the second is what the end customer will hold next to the first.
---
## Bond line QC — the same standard as any acrylic joint {#bond-line-qc}
A two-tone bond line passes or fails on the same standard as any acrylic joint: a uniform, fully wetted bond that reads clean at arm's length — about 60 cm — under showroom lighting. The reject triggers are bubble clusters, white haze, squeeze-out, and misalignment, each with a known production cause.
Those four defects, and the acceptance rule, come straight from the same QC discipline our [acrylic box seam guide](/guide/acrylic-box-joinery-seam-quality/) documents for clear joints — two-tone just raises the stakes, because a colored bond plane backlights every flaw. Bubbles trapped in a laminated face read as bright dots against the color layer; white haze — whether moisture blushing or stress crazing — shows as a pale cloud exactly at the color boundary; squeeze-out smears one color's edge into the other's territory. The prevention is also identical: clean, square surface prep, controlled solvent application, and — the step buyers never see but should ask about — annealing. Machined and flame-polished edges carry internal stress, and bonding an unannealed edge is the root cause of most crazing at joints; parts are stress-relieved for several hours at about 80 °C before bonding. PMMA's rigid, relatively brittle character is what makes stress concentration at joints the failure gate,[^azom] and it is why every two-tone reject photo gets read the same way on my bench: does the haze follow the bond line? If it does, the process failed, not the material.
The polished edge is where a laminated two-tone part shows its bond quality: a clean, fully wetted line between the color layers, no bubble clusters, no pale haze. This is the view our inspection table checks at arm's length on every piece.
---
## The mahjong proof — the same construction at tile scale {#mahjong-tiles}
Mahjong tiles are two-tone acrylic lamination running at its hardest setting: a colored back layer bonded to a light engraving face, repeated identically across a 144–152 tile set. Every QC rule above applies per tile — and a set puts dozens of bond lines side by side in a rack, where any drift or flaw self-reports instantly.
That is why we treat tile programs as the internal benchmark for the laminated build. The colored back has to hold its tone across every tile in the set and across sets in the run; the bond plane has to stay flawless because players handle the tiles for hours and rack them edge-up; and the face layer has to take deep engraving without the cut breaking through to the color beneath — a layer-thickness discipline that a two-tone tray never has to meet. The construction details live in our [custom mahjong tile spec guide](/guide/custom-acrylic-mahjong-tiles-spec-guide/), and the [mahjong rush trade-show case study](/case-studies/mahjong-rush-trade-show-14-day/) shows the build under deadline pressure — a full two-layer tile set program taken from artwork to shipped product in 14 days. For a tray buyer, the takeaway is confidence by demonstration: the same bonding, color-control, and inspection discipline that survives a 152-tile set is what runs a 500-tray program, with far more forgiving geometry. Tile-set formats and options are on the [acrylic mahjong tile sets](/products/acrylic-mahjong/acrylic-mahjong-tile-sets/) page.
---
## Which products suit two-tone — and how to spec it {#products-ordering}
Two-tone acrylic earns its premium where the second color does real work: serving and vanity trays with a colored floor under a clear body, game tiles with a colored back and light face, sign panels with edge-bonded brand fields, and blocks or awards with a colored footing. Where the color could be printed instead, print it — structure costs more than ink.
A complete two-tone spec answers five things: the two colors (Pantone codes or stock palette names), which build — laminated stack or edge-bonded split — the layer thicknesses or field split dimensions, the total part dimensions, and quantity. A brief that is unsure which build it wants can simply describe what the viewer should see: "colored floor under a clear body" routes to lamination, "two colors meeting on the face" routes to edge bonding, and we confirm the routing back in the quote. From there the order frame is our standard one: MOQ 50 pieces per design, a physical sample — including the approved swatch pair — in 3–5 days, production in 15–20 days, and 100% inspection in our ISO 9001-certified factory, with the bond line checked at arm's length on every piece. When the sample arrives, check three things before approving: the polished edge for a clean, haze-free bond line, the two colors against the swatches under your own lighting, and — on an edge-bonded design — whether the color boundary runs straight when sighted along. Tray formats and sizes to build from are on the [acrylic trays hub](/products/acrylic-trays/). When you are ready, [send the five spec points with a reference photo](/contact/?source=two-tone-acrylic-tray-fabrication) — if the design could go either build, we quote both and tell you which one we would run and why.
[^konica]: [What is Delta E? — Konica Minolta Sensing](https://sensing.konicaminolta.eu/mi-en/colourblogtop/colour-blog/whatisdeltae) — color-measurement authority describing the perceptual delta-E scale; differences above roughly 2–3 are visible to an observer, the basis for the ΔE 2.5 side-by-side visibility threshold used in two-tone batch QC.
[^astm-d2244]: [ASTM D2244 — Standard Practice for Calculation of Color Tolerances and Color Differences from Instrumentally Measured Color Coordinates](https://www.astm.org/d2244.html) — the standard practice formalizing the delta-E color-difference calculation that master-swatch batch comparisons are measured under.
[^azom]: [Polymethyl Methacrylate (PMMA, Acrylic) material properties — AZoM](https://www.azom.com/article.aspx?ArticleID=786) — materials-science reference for cast PMMA's rigid, relatively brittle mechanical character, the property that makes stress concentration at bond lines the failure gate in two-tone construction.